
Revive & Restore: A Gentle Guide to Furniture Refinishing
Is there a piece of furniture lurking in your basement, attic, or even a corner of your living room that you love the idea of, but not the look of? A worn-out dresser, a scratched coffee table, a faded chair… these pieces often hold sentimental value or possess a beautiful underlying structure just begging for a second chance. Furniture refinishing is a fantastic way to breathe new life into old items, save money, and even express your creativity. This guide will walk you through the process, step-by-step, with a friendly and educational approach, ensuring even beginners can achieve professional-looking results.
Why Refinish Furniture?
Before diving into the ‘how,’ let’s explore the ‘why.’ Refinishing isn’t just about aesthetics. It’s a sustainable practice that reduces landfill waste. It’s also a cost-effective alternative to buying new furniture, especially considering the rising prices and often lower quality of mass-produced items. Moreover, refinishing allows you to customize pieces to perfectly match your style and décor. You can transform a dated oak dresser into a chic, modern statement piece, or restore a family heirloom to its former glory. And, truthfully, there’s a deep satisfaction in taking something neglected and turning it into something beautiful and functional again.
Assessing Your Project: Is It Worth the Effort?
Not all furniture is a good candidate for refinishing. Here’s what to consider:
- Wood Type: Solid wood is the easiest to refinish. Veneer can be refinished, but it’s more delicate and requires a lighter touch. Particleboard and MDF are generally not worth the effort, as they don’t respond well to sanding and can easily fall apart.
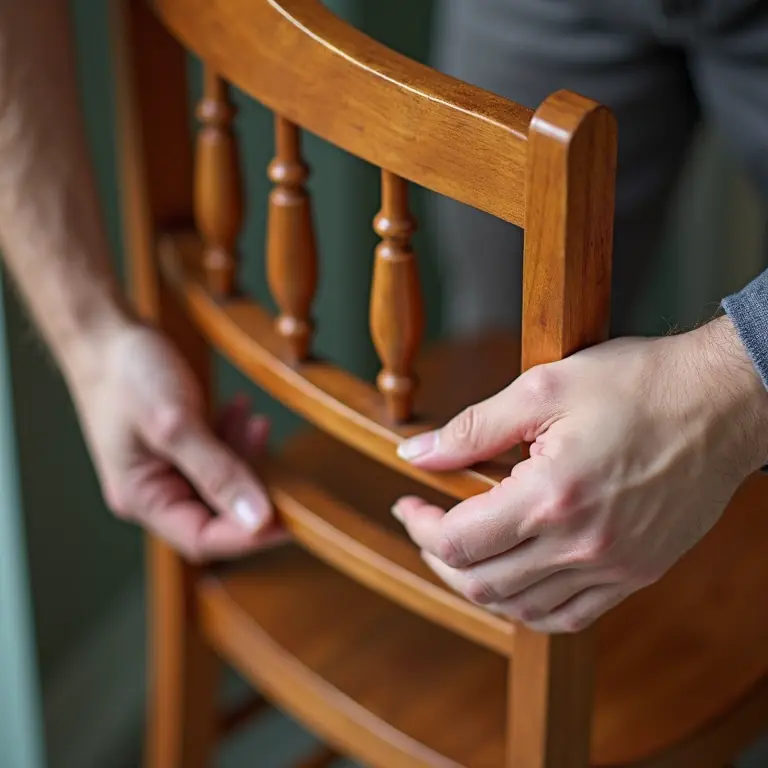
- Structural Integrity: Is the furniture structurally sound? Loose joints should be repaired before you begin. Major damage, like significant warping or rotting, may make refinishing impractical.
- Existing Finish: Some finishes are easier to remove than others. Shellac and lacquer are relatively easy, while polyurethane can be more challenging.
- Complexity of Design: Intricate carvings and details will take significantly longer to refinish than simple, flat surfaces.
Gathering Your Supplies: The Toolbox of Transformation
Having the right tools and materials is crucial for a smooth and successful refinishing project. Here’s a comprehensive list:
- Safety Gear: Safety glasses, dust mask or respirator, gloves. This is non-negotiable!
- Stripper: Chemical stripper (choose a formula appropriate for the existing finish), or a heat gun.
- Scrapers: Plastic and metal scrapers in various sizes.
- Sandpaper: A variety of grits (80, 120, 180, 220, 320).
- Sanding Block: For even sanding pressure.
- Orbital Sander (Optional): Speeds up the sanding process, especially for larger surfaces.
- Wood Filler: To repair minor imperfections.
- Tack Cloth: To remove dust after sanding.
- Primer: To seal the wood and provide a good base for the finish.
- Finish: Paint, stain, varnish, lacquer, polyurethane – choose based on your desired look and durability.
- Brushes/Sprayer: High-quality brushes or a sprayer for applying the finish.
- Mineral Spirits or Paint Thinner: For cleaning brushes and tools.
- Drop Cloths: To protect your workspace.
Step 1: Preparation is Key – Disassembly & Cleaning
Before you start stripping, take the furniture apart as much as possible. Remove drawers, knobs, hinges, and any other hardware. Label everything carefully so you can reassemble it correctly later. Thoroughly clean the furniture with a mild detergent and water to remove dirt, grime, and grease. Let it dry completely before proceeding.
Step 2: Stripping the Old Finish
This is often the most time-consuming part of the process, but it’s essential for a clean finish. Choose your stripping method:
- Chemical Stripper: Apply a thick coat of stripper according to the manufacturer’s instructions. Let it sit for the recommended time, then scrape off the softened finish with a plastic scraper. Repeat as needed. Work in a well-ventilated area and wear appropriate safety gear!
- Heat Gun: Use a heat gun to soften the finish, then scrape it off with a metal scraper. Be careful not to scorch the wood.
Once you’ve removed the bulk of the finish, use mineral spirits or paint thinner to clean the surface and remove any remaining residue.
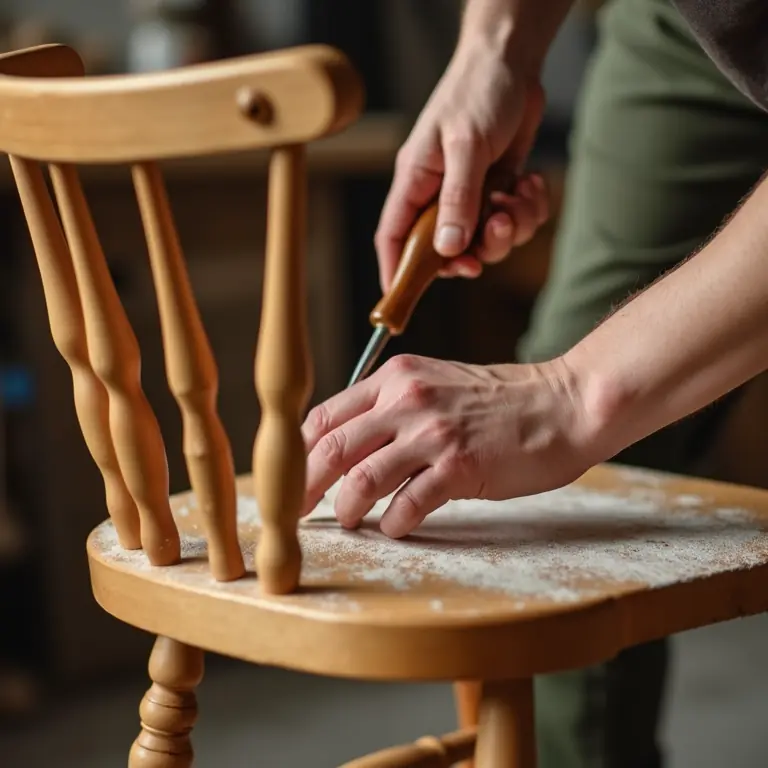
Step 3: Sanding: Smoothing the Way
Sanding is crucial for creating a smooth, even surface for the new finish. Start with a coarser grit sandpaper (80 or 120) to remove any remaining finish and imperfections. Gradually move to finer grits (180, 220, 320) to smooth the surface. Always sand in the direction of the wood grain. Use a sanding block to ensure even pressure. Don’t skip grits – each one prepares the wood for the next.
Pay special attention to corners and edges. An orbital sander can be helpful for large, flat surfaces, but be careful not to over-sand. After sanding, use a tack cloth to remove all dust.
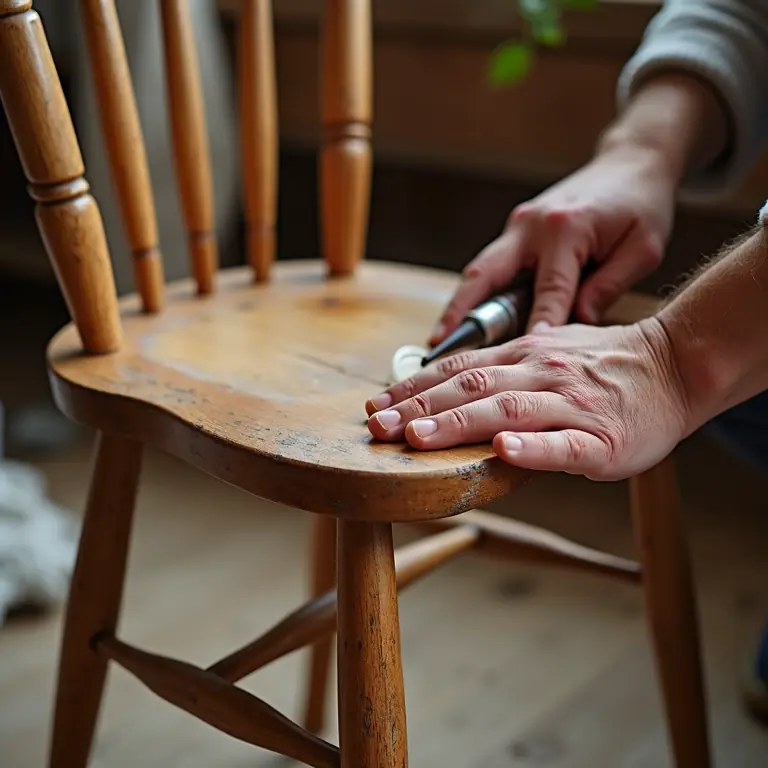
Step 4: Repairs: Filling the Gaps
Now is the time to address any imperfections in the wood. Use wood filler to fill holes, cracks, and gouges. Let the filler dry completely, then sand it smooth with the surrounding wood.
Step 5: Priming: Setting the Stage
Applying a primer is a vital step, especially if you’re painting the furniture. Primer seals the wood, prevents the finish from being absorbed unevenly, and provides a good base for adhesion. Choose a primer appropriate for your finish (e.g., latex primer for latex paint, shellac-based primer for oil-based paint). Apply the primer in thin, even coats, allowing it to dry completely between coats.
Step 6: Finishing: The Grand Finale
This is where your creativity shines! Choose your desired finish and apply it according to the manufacturer’s instructions.
- Paint: Apply multiple thin coats of paint, allowing each coat to dry completely before applying the next. Lightly sand between coats for a smoother finish.
- Stain: Apply stain with a brush or cloth, wiping off the excess after a few minutes. The longer you leave the stain on, the darker the color will be. Seal the stain with a topcoat of varnish, lacquer, or polyurethane.
- Varnish/Lacquer/Polyurethane: Apply multiple thin coats, allowing each coat to dry completely before applying the next. Lightly sand between coats for a smoother finish. These finishes provide durability and protection.
If you’re using a sprayer, follow the manufacturer’s instructions carefully to avoid runs and drips. Always work in a well-ventilated area.
Extra Flair: Beyond the Basics
Want to take your refinishing project to the next level? Consider these techniques:
- Distressing: Create a weathered look by sanding away some of the finish after it’s dry.
- Antiquing: Use a glaze or antiquing wax to highlight details and create a vintage look.
- Stenciling: Add patterns or designs with stencils and paint.
- Hardware Updates: Replace old knobs and pulls with new ones to instantly update the look of the furniture.
Troubleshooting: Common Issues & Solutions
- Finish is peeling: The surface wasn’t properly prepared. Strip and sand again.
- Brush marks: Use a higher-quality brush and apply the finish in thin, even coats. Sand lightly between coats.
- Uneven color: Apply multiple coats of stain or paint, ensuring even coverage.
- Dust nibs: Ensure your workspace is clean and dust-free. Use a tack cloth before applying the finish.
Maintaining Your Refinished Treasure
Once your furniture is refinished, protect your investment with regular maintenance. Dust frequently with a soft cloth. Avoid placing furniture in direct sunlight or near heat sources. Use coasters and placemats to protect surfaces from spills and scratches. Periodically apply a coat of wax or polish to maintain the finish.
Inspiration & Further Learning
Feeling inspired? Sometimes a little visual kickstart is all you need! Check out this IKEA hack:
Refinishing furniture is a rewarding skill that can transform your home and save you money. It’s a process that requires patience and attention to detail, but the results are well worth the effort. So, dust off that old piece of furniture, gather your supplies, and get ready to revive and restore!
Looking for other ways to breathe new life into old things? Consider decluttering your digital life, building a bird feeder, or even growing your own herbs. These projects share the same spirit of renewal and resourcefulness!
Discussion about this post