
Chart Your Course: A Friendly Guide to Basic Celestial Navigation

Have you ever looked up at the night sky, ablaze with stars, and wondered if there was more to them than just beauty? For centuries, humans have used those very stars – and the sun, moon, and planets – to find their way across vast oceans and track their location. This isn’t some arcane, impossible skill reserved for seasoned sailors; it’s called celestial navigation, and with a little learning and practice, you can understand the basics too! This guide will walk you through the core concepts in a friendly and accessible way.
Why Celestial Navigation?
In our modern world of GPS and digital maps, why bother learning celestial navigation? Several good reasons! Firstly, it’s a fantastic intellectual exercise, sharpening your problem-solving skills and spatial reasoning. Secondly, it provides a backup system. Electronics fail – batteries die, storms fry circuits. Knowing how to navigate by the stars is a skill that doesn’t rely on electricity or satellites. Thirdly, it connects you to a rich history of exploration and adventure. Imagine following in the footsteps of Magellan, Cook, or Columbus, using the same methods they did!
The Core Concepts: A Celestial Toolbox
Celestial navigation relies on a few key concepts. Let’s break them down:
1. The Celestial Sphere
Imagine the stars are fixed on the inside of a giant, invisible sphere surrounding the Earth. This is the celestial sphere. It’s a useful model for visualizing the positions of celestial bodies, even though we know the stars are at vastly different distances. We project the Earth’s grid of latitude and longitude onto this sphere.
2. Coordinates: Latitude and Longitude
You’re likely familiar with latitude and longitude. These are the Earth’s coordinates. Latitude measures north-south position, ranging from 0° at the Equator to 90° North and 90° South at the poles. Longitude measures east-west position, ranging from 0° at the Prime Meridian to 180° East and 180° West.
3. Celestial Coordinates: Declination and Greenwich Hour Angle (GHA)
Just as we have latitude and longitude for Earth, we have declination and GHA for celestial objects. Declination is similar to latitude – it measures a celestial object’s position north or south of the celestial equator. GHA is similar to longitude, but it’s measured in time (degrees) west of the Greenwich Meridian. This time-based measurement is crucial for tracking how celestial bodies move across the sky as the Earth rotates. It’s important to note that GHA changes constantly.
4. The Nautical Almanac
The Nautical Almanac is your essential reference book. It provides the GHA and Declination of various celestial bodies (the Sun, Moon, planets, and selected stars) for every hour of every day. Without this information, celestial navigation is impossible. Think of it as the star’s address book.
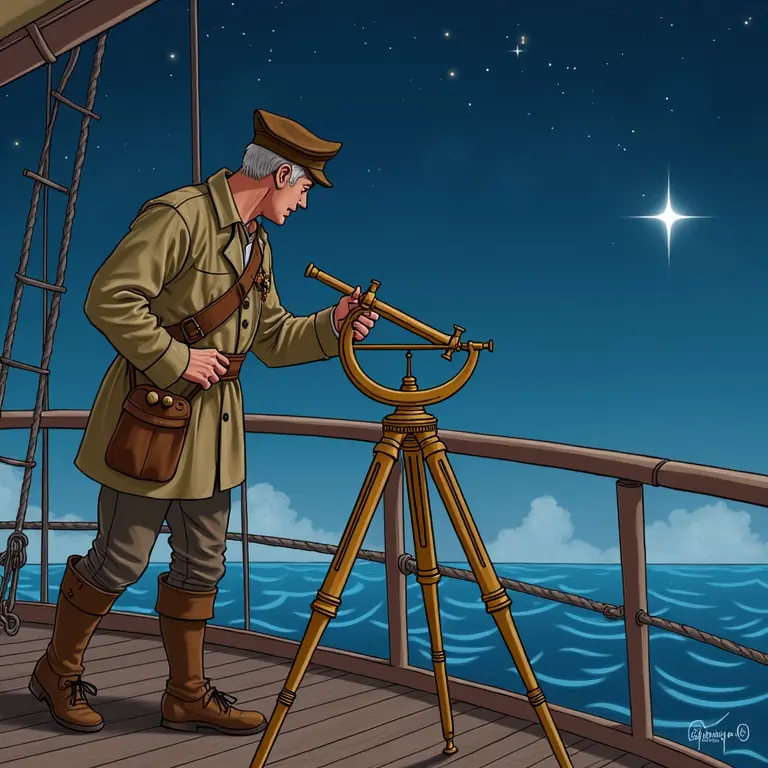
5. The Sextant: Measuring Angles
The sextant is the primary instrument used to measure the angle between a celestial body and the horizon. This angle is called the altitude. It’s a precision instrument that requires practice to use accurately. Understanding how to use a sextant correctly is paramount to successful celestial navigation. You can find helpful tutorials online and through sailing courses.

The Process: From Observation to Position
So, how do you actually use these tools to find your position? Here’s a simplified overview:
Step 1: Taking a Sight
Using your sextant, measure the altitude of a celestial body at a precise time. The time is *critical* – you need to know the exact time to look up the GHA in the Nautical Almanac. Record the time (UTC/GMT), the altitude, and the celestial body you observed.
Step 2: Correcting the Altitude
The raw altitude reading from the sextant needs to be corrected for several factors, including:
- Index Error: A slight imperfection in the sextant itself.
- Dip: The height of your eye above sea level.
- Refraction: The bending of light as it passes through the atmosphere.
- Semi-diameter: For the Sun and Moon, you measure to the edge of the disk. You need to add or subtract the semi-diameter to get the center reading.
These corrections are detailed in the Nautical Almanac and navigation textbooks.
Step 3: Calculating Position
This is where things get a bit more involved. You’ll use the corrected altitude, the GHA and Declination from the Nautical Almanac, and some spherical trigonometry (don’t worry, there are tools to help with this!) to calculate a Line of Position (LOP).
4. Lines of Position (LOPs)
An LOP is a line on the chart on which your position must lie. A single LOP doesn’t give you a precise location, but it narrows down the possibilities. By taking sights of multiple celestial bodies (at least three is recommended), you’ll get multiple LOPs. The intersection of these LOPs gives you your estimated position.
Common Celestial Bodies for Navigation
While you can theoretically use any celestial body, some are more practical than others. Here’s a breakdown:
The Sun
The Sun is the easiest celestial body to observe, but it requires special filters to protect your eyes. Sun sights are often taken at local noon, when the altitude is at its maximum.
The Moon
The Moon is also relatively easy to observe, especially when it’s a half-moon or gibbous moon. Like the Sun, you need to account for its semi-diameter.
Stars
Stars are more challenging because they’re fainter and appear only at night. However, they’re very stable and reliable. Navigational stars are carefully selected for their brightness and position. Polaris (the North Star) is particularly useful in the Northern Hemisphere, as its altitude closely corresponds to your latitude.
Planets
Planets can be used for navigation, but their positions change rapidly, so you need to be very precise with your timing and Almanac readings.
Tools and Resources
Beyond the sextant and Nautical Almanac, several other tools can aid in celestial navigation:
- Chronometer: A highly accurate clock used to determine the time in UTC/GMT.
- Navigation Tables: Tables that simplify the calculations involved in determining your position.
- Plotting Sheets: Charts specifically designed for plotting LOPs.
- Sight Reduction Tables: Pre-calculated tables that streamline the sight reduction process.
Here’s a helpful video explaining how to navigate using the stars:
Practice and Patience
Celestial navigation is a skill that requires practice and patience. Don’t expect to become an expert overnight. Start with the basics, practice your sextant skills, and gradually work your way up to more complex calculations. Join a sailing club or take a celestial navigation course to learn from experienced instructors. And remember, even experienced navigators make mistakes – the key is to learn from them.
Beyond the Basics: Expanding Your Knowledge
Once you’ve mastered the basics, you can explore more advanced topics, such as:
- Lunar Distance: A method of determining longitude by measuring the angular distance between the Moon and a star.
- Time Sights: Using the altitude of the Sun to determine your longitude at a specific time.
- Advanced Sight Reduction Techniques: Using more sophisticated methods to improve accuracy.
Embrace the Journey
Learning celestial navigation is a rewarding experience that connects you to a rich history and provides a valuable skill. It’s a journey of discovery, both outward to the stars and inward to your own capabilities. So, grab a sextant, a Nautical Almanac, and a sense of adventure, and chart your course!
Want to learn other interesting skills? Check out this guide to screenwriting, or perhaps explore the world of dream journaling. If you’re looking to boost productivity, consider the Pomodoro Technique.
Discussion about this post