
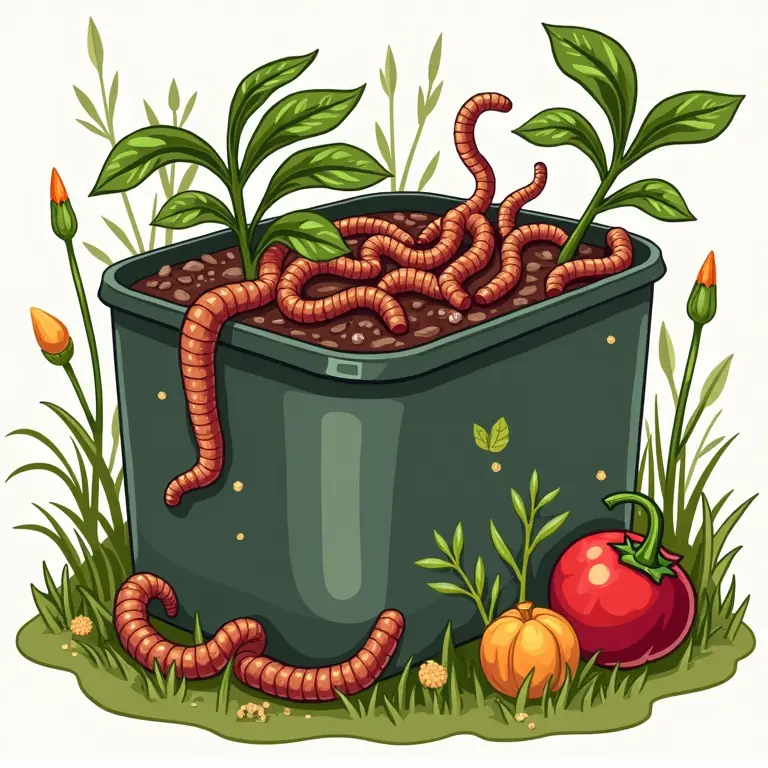
Build a Backyard Worm Farm: A Friendly Guide to Vermicomposting

Vermicomposting – the art of letting worms do the dirty work of turning kitchen scraps into nutrient-rich fertilizer – is a fantastic way to reduce waste, enrich your garden, and connect with nature. It might sound intimidating, but trust us, it’s surprisingly easy and incredibly rewarding. This guide will walk you through everything you need to know to build and maintain a thriving worm farm right in your backyard.
Why Vermicomposting? The Benefits are Abundant!
Before we dive into the ‘how-to’, let’s explore why you should consider vermicomposting. The benefits extend far beyond just getting rid of food scraps.
- Reduces Landfill Waste: A significant portion of household waste is organic matter that ends up in landfills. Worm composting diverts this waste, reducing methane emissions (a potent greenhouse gas) and conserving valuable landfill space.
- Creates Nutrient-Rich Fertilizer: Worm castings (worm poop!) are a phenomenal soil amendment. They’re packed with essential nutrients like nitrogen, phosphorus, potassium, and micronutrients, all in a form readily available to plants. It’s often called “black gold” by gardeners for a good reason!
- Improves Soil Health: Worm castings improve soil structure, aeration, and water retention. They also introduce beneficial microbes to the soil, boosting overall soil health.
- Cost-Effective: Once your worm farm is established, it requires minimal ongoing cost. You’re essentially turning waste into a valuable resource.
- Educational & Fun: Vermicomposting is a great learning experience for all ages, teaching about decomposition, ecosystems, and sustainable living. It’s a fun and engaging project for the whole family.
Choosing a Worm Bin: DIY vs. Purchased
You have two main options when it comes to acquiring a worm bin: building your own or purchasing a pre-made one. Both have their advantages.
DIY Worm Bins
Building your own worm bin is a cost-effective and customizable option. You can tailor the size and design to fit your needs and available space. Here are some popular DIY options:
- Plastic Tote Bin: This is the most common and easiest DIY method. You’ll need two plastic totes (one nesting inside the other), a drill, and some bedding material (see section on ‘Setting Up Your Worm Bin’).
- Wooden Bin: A wooden bin offers a more aesthetically pleasing look but requires more construction effort. Ensure the wood is untreated and naturally rot-resistant (like cedar or redwood) or line it with a plastic liner.
- Stacking Bins: A more advanced DIY option involves stacking multiple bins to create a continuous harvesting system.
Tip: Regardless of the material, ensure your bin is opaque (worms prefer darkness) and has adequate ventilation holes.
Purchased Worm Bins
Pre-made worm bins are convenient and often come with features like built-in drainage and aeration. They are typically more expensive than DIY options but can save you time and effort. Popular brands include Worm Factory 360 and Hungry Bin. Consider the size of your household and the amount of food waste you generate when choosing a bin.
Setting Up Your Worm Bin: A Step-by-Step Guide
Now that you have your bin, it’s time to get it set up for your new wormy residents. Here’s how:
- Location, Location, Location: Choose a shady, well-ventilated spot for your worm bin. Avoid direct sunlight, which can overheat the bin. Ideal temperatures are between 55°F and 77°F (13°C and 25°C). A garage, basement, or covered patio are good options.
- Bedding is Key: Worms need a moist, carbon-rich bedding material to thrive. Good options include:
- Shredded newspaper (black and white only – avoid glossy inserts)
- Shredded cardboard
- Coco coir (coconut fiber)
- Peat moss (use sparingly as it’s not a renewable resource)
Moisten the bedding thoroughly – it should feel like a wrung-out sponge. Fluff it up to create air pockets.
- Introduce Your Worms: Red wigglers (Eisenia fetida) are the best worms for vermicomposting. They are surface dwellers and excel at breaking down organic matter. You can purchase worms online or from local garden centers. Start with about 1 pound of worms for a standard-sized bin.
- Add a Little Food: Gently add a small amount of food scraps on top of the bedding. This will help the worms acclimate to their new home.
- Cover the Food: Cover the food scraps with a layer of bedding to help control odors and fruit flies.
Here’s a helpful video on building a worm composter:
What to Feed Your Worms (and What to Avoid)
Worms are not garbage disposals! They have preferences. Here’s a guide to what you can and can’t feed your wormy friends.
Worm-Approved Foods:
- Fruit & Vegetable Scraps: Apple cores, banana peels, carrot tops, lettuce, potato peels, etc.
- Coffee Grounds & Filters: Worms love coffee grounds!
- Tea Bags: Remove the staples and any plastic tags.
- Crushed Eggshells: Provide calcium and grit for the worms.
- Bread & Pasta (in moderation): Avoid large quantities as they can become acidic.
- Cereal & Oatmeal (in moderation): Again, moderation is key.
Foods to Avoid:
- Meat, Fish, & Dairy: These attract pests and create foul odors.
- Oily Foods: Can disrupt the worm’s digestive system.
- Citrus Fruits (in large quantities): Acidic and can lower the pH of the bin.
- Onions & Garlic: Can be harmful to worms in large amounts.
- Processed Foods: Often contain ingredients that worms can’t break down.
- Pet Waste: Contains harmful pathogens.
Tip: Cut food scraps into smaller pieces to speed up decomposition. Bury the food scraps under the bedding to minimize odors and fruit flies.
Maintaining Your Worm Farm: A Few Simple Tasks
Keeping your worm farm happy and healthy requires a little regular maintenance.
- Moisture Control: The bedding should remain consistently moist. If it’s too dry, add water. If it’s too wet, add more dry bedding.
- Feeding Frequency: Feed your worms every few days, adjusting the amount based on their consumption rate. A good rule of thumb is to feed them about half their weight in food scraps each day.
- Aeration: Gently fluff the bedding every week or so to provide aeration.
- Pest Control: Fruit flies are a common pest. Covering food scraps with bedding and maintaining proper moisture levels will help prevent infestations.
- Harvesting Worm Castings: After several months, your bin will be full of rich worm castings. There are several methods for harvesting castings, including:
- Dump & Sort: Dump the contents of the bin onto a tarp and hand-sort the worms from the castings.
- Migration Method: Move the finished compost to one side of the bin and add fresh bedding and food to the other side. The worms will migrate to the fresh side, leaving the castings behind.
- Stacking Bin System: If you have a stacking bin system, the worms will naturally migrate upwards to the fresh bin.
Troubleshooting Common Worm Farm Issues
Even with the best care, you might encounter a few challenges. Here are some common issues and how to address them:
- Smelly Bin: Usually caused by too much food or anaerobic conditions (lack of oxygen). Add more bedding, reduce feeding, and fluff the bedding more frequently.
- Fruit Fly Infestation: Cover food scraps with bedding, ensure proper moisture levels, and consider using a fruit fly trap.
- Worms Trying to Escape: May indicate the bin is too wet, too dry, too acidic, or too hot. Adjust conditions accordingly.
- Slow Decomposition: May be due to cold temperatures, lack of moisture, or insufficient food.
Using Worm Castings: Garden Gold!
Now that you’ve harvested your worm castings, it’s time to put them to good use! Here are some ways to incorporate them into your gardening routine:
- Soil Amendment: Mix castings into your garden soil before planting.
- Potting Mix: Add castings to your potting mix for container plants.
- Top Dressing: Sprinkle castings around existing plants.
- Compost Tea: Steep castings in water to create a nutrient-rich liquid fertilizer.
Beyond the Basics: Expanding Your Knowledge
Vermicomposting is a fascinating subject with a lot of depth. Here are some resources to further your learning:
- Local Worm Composting Groups: Connect with other vermicomposters in your area for advice and support.
- Online Forums & Communities: There are many online forums dedicated to vermicomposting where you can ask questions and share experiences.
- Books on Vermicomposting: Numerous books offer in-depth information on all aspects of vermicomposting.
And if you are looking for other friendly guides, check out these:
Map Your Movements: A Friendly Guide to Geocaching Adventures
Uncover Lost Voices: A Friendly Guide to Oral History Interviewing
Build a Backyard Weather Station: A Friendly Guide to Atmospheric Monitoring
Vermicomposting is a rewarding and sustainable practice that benefits both your garden and the environment. With a little effort, you can transform kitchen scraps into a valuable resource and enjoy the satisfaction of knowing you’re doing your part to reduce waste and create a healthier planet. Happy worming!
Discussion about this post