Build a Better Batch: A Friendly Guide to Home Coffee Roasting
For the dedicated coffee lover, there’s a point where simply brewing a great cup isn’t enough. You start to wonder about the beans themselves – their origin, their journey, and ultimately, their potential. This curiosity often leads to a fascinating, rewarding, and occasionally smoky hobby: home coffee roasting. Don’t be intimidated! While it might seem complex, roasting your own coffee is surprisingly accessible, and the results are well worth the effort. This guide will walk you through everything you need to know, from understanding the basics to perfecting your technique, all with a friendly and encouraging tone.
Why Roast Your Own Coffee?
Before diving into the “how,” let’s explore the “why.” There are several compelling reasons to embark on this coffee adventure:
- Freshness: This is the biggest benefit. Commercially roasted coffee loses its flavor and aroma over time, even in sealed bags. Roasting your own ensures peak freshness – coffee is at its best within a week or two of roasting.
- Control: You dictate the roast level, tailoring the beans to your exact preferences. Do you like a light, bright, acidic cup? Or a dark, bold, chocolatey one? The power is in your hands.
- Cost Savings: While the initial investment in equipment can be significant, you’ll eventually save money compared to buying high-quality, specialty coffee beans.
- Experimentation: Roasting opens up a world of experimentation. You can try different bean origins, blends, and roast profiles to discover flavors you never knew existed.
- The Joy of Creation: There’s something deeply satisfying about transforming green, unassuming beans into a fragrant, flavorful cup of coffee.
Understanding the Basics: Green Coffee & Roast Levels
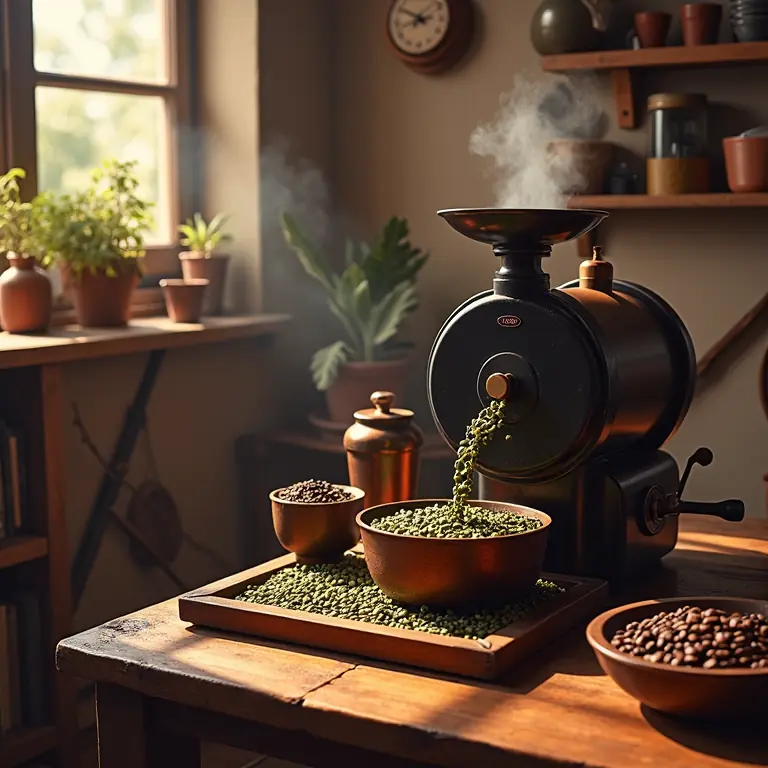
Let’s start with the raw material: green coffee beans. These are the unroasted seeds of the coffee cherry. You can purchase them online from various suppliers, specializing in single-origin beans or blends. Look for reputable vendors who provide information about bean origin, processing method (washed, natural, honey), and altitude.
Next, we need to understand roast levels. These are broadly categorized as:
- Light Roast: Beans are light brown, with a high acidity and delicate flavors. Often used for single-origin coffees to showcase their unique characteristics.
- Medium Roast: Balanced acidity, body, and flavor. A versatile roast level suitable for many brewing methods.
- Medium-Dark Roast: More body and bittersweet notes, with reduced acidity. Often used for espresso blends.
- Dark Roast: Dark brown, oily surface. Bold, smoky, and often chocolatey flavors. Acidity is minimal.
It’s important to note that these are just guidelines. Roast levels are subjective, and the ideal level depends on your personal preference and the bean itself. A lighter roast won’t necessarily be “better” than a darker roast – it’s all about what you enjoy.

Roasting Methods: A Breakdown
There are several methods for roasting coffee at home, each with its own pros and cons. Here’s a look at the most common options:
1. Air Popper
This is the most affordable and accessible method for beginners. A hot air popcorn popper (specifically, one without a stirring stick) can be used to roast small batches of coffee. It’s quick and relatively easy, but it can be challenging to achieve consistent results and requires constant attention.
- Pros: Inexpensive, easy to use, fast.
- Cons: Small batch size, inconsistent results, potential for scorching.
2. Stovetop Roasting (Pan or Wok)
Using a cast iron skillet or wok on your stovetop is a more hands-on approach. It requires constant stirring and monitoring to ensure even roasting. It can be messy and smoky, so good ventilation is crucial.
- Pros: Relatively inexpensive, good control over the roasting process.
- Cons: Requires constant attention, messy, smoky, difficult to achieve even roasting.
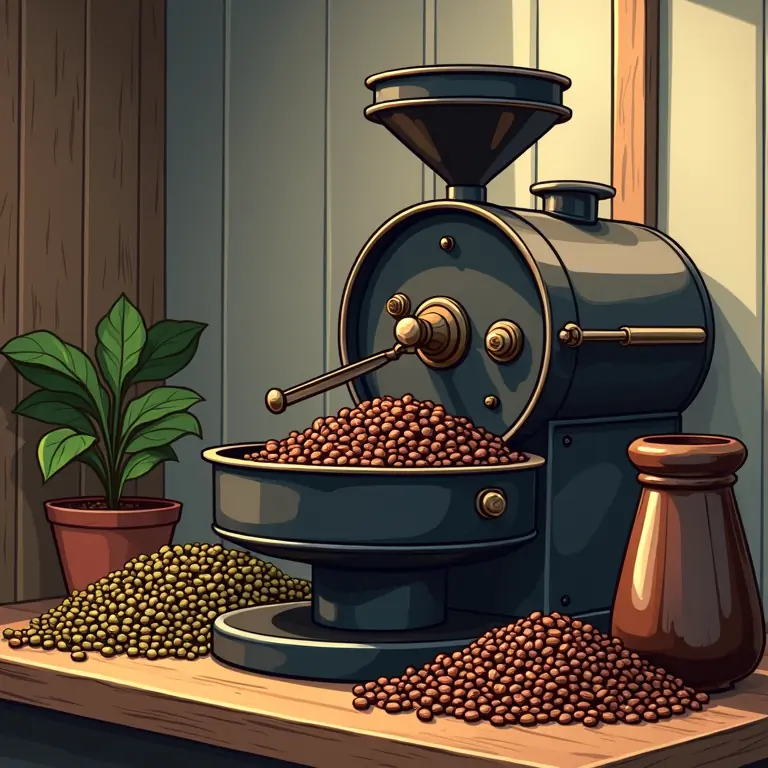
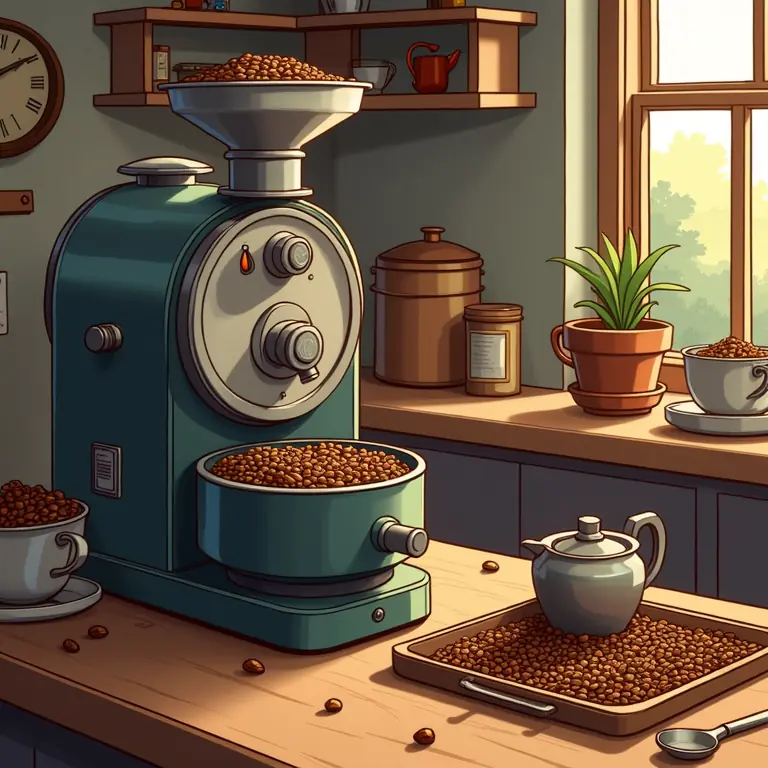
3. Drum Roaster
Drum roasters are the most professional-grade option for home roasting. They use a rotating drum to evenly roast the beans, providing excellent control and consistency. However, they are also the most expensive.

- Pros: Consistent results, large batch size, excellent control.
- Cons: Expensive, requires a dedicated space, learning curve.
4. Heat Gun/Bread Machine Combination
This method uses a heat gun to provide the roasting heat, and a bread machine (with the kneading paddle removed) to tumble the beans for even roasting. It’s a popular option for hobbyists seeking a balance between control and affordability.
- Pros: Affordable, good control, decent batch size.
- Cons: Requires some setup, can be messy, requires constant monitoring.
The Roasting Process: A Step-by-Step Guide (Using an Air Popper)
Let’s walk through the roasting process using an air popper, as it’s the most accessible starting point. The principles are similar for other methods, but the specifics will vary.
- Preparation: Measure out approximately 1/2 cup (around 100g) of green coffee beans. Ensure your air popper is clean and dry. Work in a well-ventilated area – roasting coffee produces a significant amount of smoke.
- Preheating: Turn on the air popper and let it preheat for a minute or two.
- Charging: Carefully pour the green coffee beans into the air popper.
- Drying Phase (First 4-5 Minutes): The beans will initially appear pale green and will gradually turn yellow. This is the drying phase, where moisture is being evaporated. You’ll likely smell a grassy aroma.
- Yellowing/Chaffing Phase (Next 2-3 Minutes): The beans will turn a pale yellow color and begin to release chaff (the papery skin of the bean). The chaff will be expelled through the vents of the air popper.
- First Crack (Around 7-8 Minutes): This is a crucial moment! You’ll hear a popping sound, similar to popcorn. This is the “first crack,” indicating that the beans are undergoing a chemical change and developing flavor.
- Development Phase (After First Crack): This is where you control the roast level. Continue roasting for a period of time after the first crack. The longer you roast, the darker the beans will become. For a light roast, stop shortly after the first crack. For a medium roast, roast for 1-2 minutes after the first crack. For a dark roast, roast for 3+ minutes after the first crack.
- Second Crack (Optional): A second crack is a quieter, more rapid series of pops. It indicates that the beans are nearing their darkest roast level. Be careful not to burn the beans if you reach the second crack.
- Cooling: Immediately after removing the beans from the air popper, transfer them to a metal colander and use a fan to cool them down as quickly as possible. This stops the roasting process.
Tips for Success
- Ventilation is Key: Roasting produces a lot of smoke. Open windows, use a range hood, or roast outdoors.
- Record Your Roasts: Keep a log of each roast, noting the bean origin, roast time, roast level, and your subjective impressions of the flavor. This will help you refine your technique.
- Listen to the Beans: Pay attention to the sounds of the roasting process – the drying phase, the first crack, and the second crack. These are your cues.
- Don’t Be Afraid to Experiment: Try different beans, roast levels, and roasting times. The only way to find your perfect cup is to experiment.
- Rest the Beans: Allow the roasted beans to “rest” for at least 12-24 hours before brewing. This allows the flavors to develop fully.
Beyond the Basics: Refining Your Technique
Once you’ve mastered the basics, you can start to refine your technique. Here are some areas to explore:
- Roast Profiling: Creating a specific roast profile – a detailed plan for how the temperature and time will change during the roast.
- Bean Temperature Monitoring: Using a temperature probe to monitor the internal temperature of the beans.
- Blending: Combining different bean origins to create unique flavor profiles.
- Cupping: A professional method for evaluating coffee flavor.
Expanding Your DIY Horizons
If you enjoy the process of creating things from scratch, home coffee roasting might inspire you to explore other DIY hobbies. Perhaps you’d be interested in small-scale soapmaking, cultivating miniature trees through bonsai, or even the art of vocal percussion (beatboxing)?
Final Thoughts
Home coffee roasting is a rewarding hobby that requires patience, practice, and a willingness to experiment. Don’t be discouraged by initial failures – every roast is a learning opportunity. With a little effort, you’ll be enjoying the freshest, most flavorful coffee you’ve ever tasted, customized to your exact preferences. So, go ahead, build a better batch, and savor the journey!


Discussion about this post