
Decode Your Dials: A Friendly Guide to Vintage Radio Restoration
So, you’ve stumbled upon a beautiful piece of history – a vintage radio. Perhaps it was at a flea market, an estate sale, or tucked away in your attic. It may be silent, crackly, or just plain…dead. But you see the potential. You dream of warm, glowing tubes and the nostalgic sounds of a bygone era. Welcome! This guide is for you. We’ll break down the often-intimidating process of vintage radio restoration, step-by-step, with a friendly, approachable tone. No prior electronics experience is *required*, though it will be helpful. We’ll focus on the common types of radios from the 1920s through the 1960s, often called ‘tube radios’, and the skills needed to bring them back to life. Remember, safety first!
Why Restore a Vintage Radio?
Beyond the sheer enjoyment of listening to classic broadcasts, restoring a vintage radio is a rewarding experience. It’s a connection to the past, a tangible piece of technology that predates our digital world. It’s a puzzle to solve, a skill to learn, and a beautiful object to preserve. Plus, a beautifully restored radio is a conversation starter and a stunning addition to any room. And, let’s be honest, there’s a certain satisfaction in resurrecting something that others have given up on.
Safety First: Dealing with High Voltages
This is the *most* important section. Vintage radios, especially tube radios, operate on potentially lethal voltages. Even after being unplugged for years, capacitors can store a dangerous charge. **Never** work on a radio that is plugged in. **Always** discharge capacitors before touching any components. We’ll cover capacitor discharge later in the guide. If you are uncomfortable working with electricity, *do not attempt this restoration*. Seek the help of a qualified technician. Seriously. Your life is more important than a radio.
Essential Safety Equipment:
- Insulated Tools: Use tools with insulated handles.
- Safety Glasses: Protect your eyes!
- Discharge Tool: A resistor (around 10k ohm, 5 watt) with alligator clips is essential for safely discharging capacitors.
- Work Gloves: While not a substitute for proper safety procedures, gloves can provide a small layer of protection.
- Well-Lit Workspace: Good visibility is crucial for detailed work.
Tools You’ll Need
You don’t need a fully equipped electronics lab to get started, but a few key tools will make the process much easier. Here’s a list:
- Screwdrivers: A variety of sizes, including both flathead and Phillips head.
- Pliers: Needle-nose pliers are particularly useful.
- Wire Strippers/Cutters: For working with wires.
- Soldering Iron and Solder: Essential for replacing components. A temperature-controlled iron is recommended.
- Multimeter: For measuring voltage, resistance, and continuity. A digital multimeter (DMM) is preferred.
- Capacitor Tester: Useful for testing capacitors, although a multimeter can provide some basic capacitor testing.
- Tube Tester: (Optional) For testing vacuum tubes.
- DeoxIT: A contact cleaner for cleaning switches, potentiometers, and tube sockets.
- Isopropyl Alcohol: For cleaning chassis and components.
- Small Brushes: For cleaning.
- Magnifying Glass: For inspecting small components.
Step 1: Initial Assessment and Disassembly
Before you start taking things apart, carefully examine the radio. Note any obvious damage, such as broken knobs, cracked cabinet, or missing components. Take pictures! Lots of them. These will be invaluable when it comes time to reassemble everything.
Next, carefully disassemble the radio. Start by removing the back cover. Then, gently remove the chassis from the cabinet. Pay attention to how everything is connected. As you remove components, label them and their corresponding wires. A simple numbering system works well. Keep all screws and hardware organized in labeled containers.
Step 2: Visual Inspection and Component Identification
Once the chassis is removed, perform a thorough visual inspection. Look for the following:
- Burned or Discolored Components: Resistors, capacitors, and tubes that have overheated will often show signs of damage.
- Leaky Capacitors: Electrolytic capacitors are prone to leaking. Look for a gooey residue around the base of the capacitor.
- Broken Wires: Check for any broken or frayed wires.
- Corroded Connections: Corrosion can cause intermittent connections and poor performance.
- Damaged Tubes: Look for broken filaments or cloudy glass.
Identify the components. This is where a schematic diagram (see ‘Resources’ section below) becomes invaluable. Learn to recognize common components like resistors (color-coded bands), capacitors (various shapes and sizes), transformers, and vacuum tubes.
Step 3: Capacitor Discharge – Absolutely Critical!
Before you touch *anything* on the chassis, you *must* discharge the capacitors. As mentioned before, these can hold a dangerous charge even when the radio is unplugged. Use a discharge tool (a resistor, typically 10k ohm, 5 watt, with alligator clips). Connect one clip to a good chassis ground and the other clip to the capacitor’s terminals. Discharge each capacitor individually. **Double-check with your multimeter to ensure the capacitor is fully discharged.** Never assume a capacitor is discharged just because you discharged others.
Step 4: Component Testing
Now that the radio is safely discharged, you can start testing components.
- Resistors: Use your multimeter to measure the resistance. If the reading is significantly different from the expected value (based on the color code), replace the resistor.
- Capacitors: A capacitor tester is ideal for testing capacitors. You can also use a multimeter to check for shorts or open circuits, but this won’t give you a precise capacitance reading. Replace any leaky or faulty capacitors.
- Vacuum Tubes: A tube tester can determine if a tube is good or bad. If you don’t have a tube tester, you can visually inspect the tubes for damage (broken filaments, cloudy glass). Replacing tubes is relatively inexpensive.
- Transformers: Testing transformers requires more advanced equipment and knowledge. Often, if a transformer is suspected to be faulty, it’s best to replace it.
Step 5: Cleaning and Lubrication
Cleaning the chassis and components is an important step. Use isopropyl alcohol and small brushes to remove dirt, dust, and corrosion. Clean the tube sockets with DeoxIT to ensure good contact. Lubricate potentiometers (volume and tone controls) with DeoxIT to eliminate scratchiness and improve performance. Cleaning the cabinet is a separate process, often involving gentle soap and water or specialized wood cleaners.
Step 6: Rewiring and Component Replacement
Once you’ve identified and tested the faulty components, it’s time to replace them. Use your soldering iron and solder to carefully remove the old components and install the new ones. Ensure that the new components are correctly oriented. Double-check your wiring against the schematic diagram. Pay attention to polarity when replacing capacitors (electrolytic capacitors have a positive and negative terminal).
Step 7: Reassembly and Testing
Carefully reassemble the radio, referring to the pictures you took during disassembly. Double-check all connections. Before plugging the radio in, inspect your work one last time. Then, and only then, plug it in and test it. Start with a low voltage fuse if possible. If the radio doesn’t work, don’t panic. Recheck your wiring, components, and connections. A systematic approach is key.
Troubleshooting Common Problems
- No Sound: Check the tubes, speakers, and volume control.
- Humming or Buzzing: Check the power supply and ground connections.
- Weak Signal: Check the antenna connection and RF amplifier tubes.
- Distorted Sound: Check the output tubes and speaker.
Resources
- Schematic Diagrams: Websites like Radio Museum and Nostalgia Air offer a vast collection of schematic diagrams.
- Online Forums: Antique Radio Forum (https://antiqueradios.com/) is a great place to ask questions and get help from experienced restorers.
- YouTube Channels: Search for “vintage radio restoration” on YouTube for helpful videos.
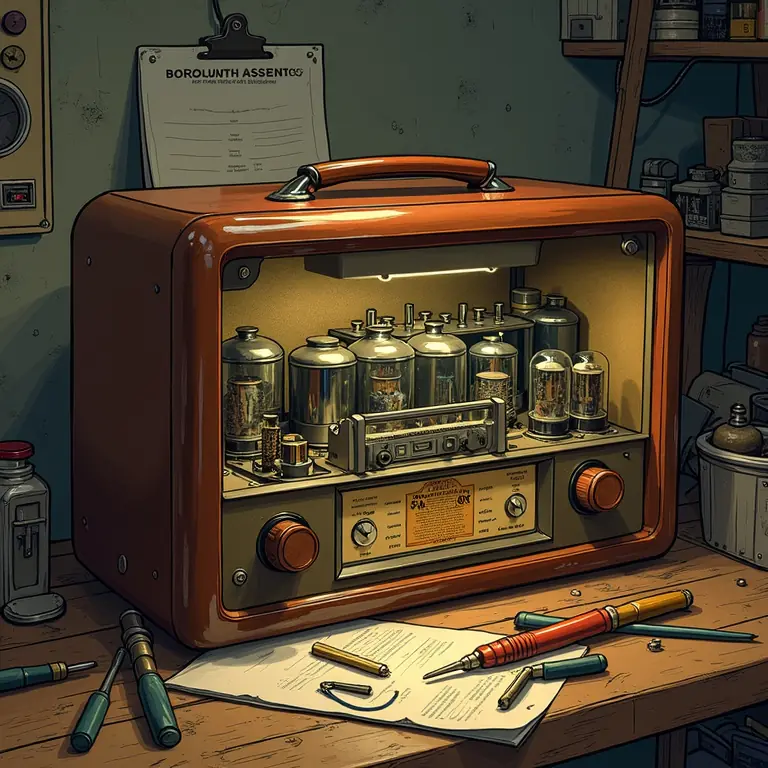
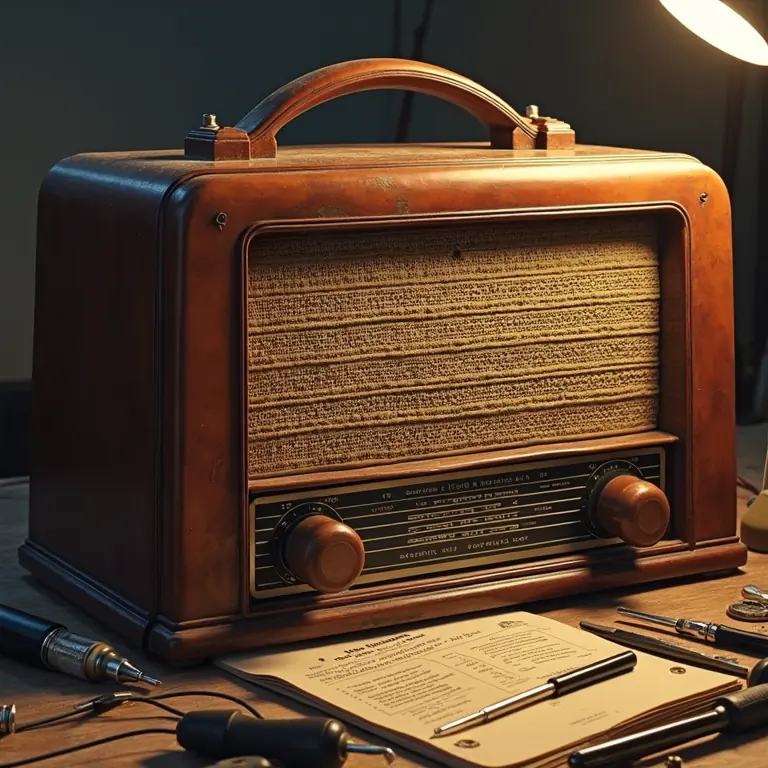
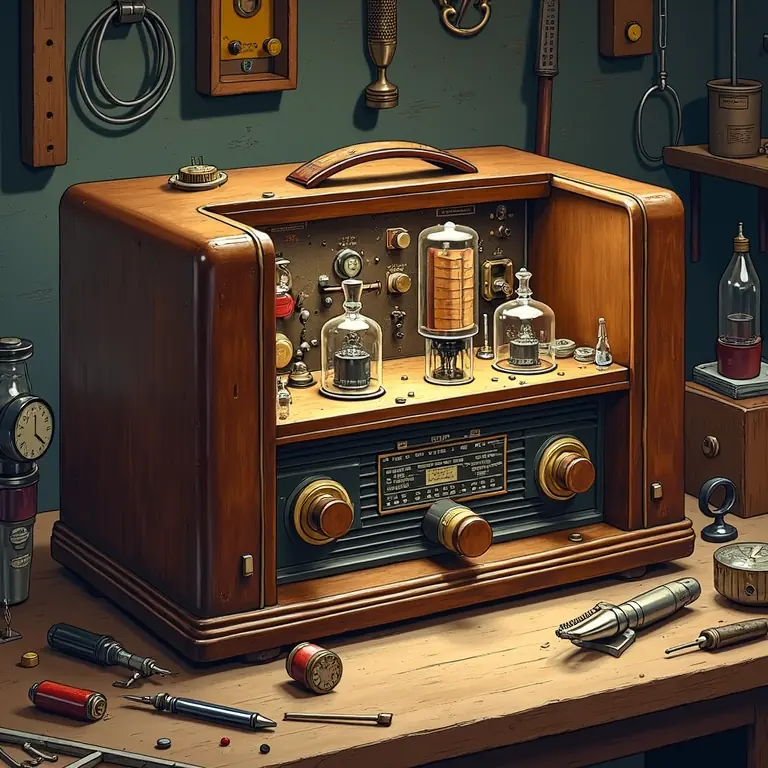
Here’s a glimpse into the world of vintage radio collecting:
Beyond the Basics: Expanding Your Skills
Once you’ve restored a few radios, you might want to explore more advanced techniques, such as:
- Cabinet Restoration: Repairing and refinishing the wooden cabinet.
- Dial Restoration: Replacing the dial scale or repairing the pointer.
- IF Alignment: Adjusting the intermediate frequency (IF) transformers for optimal performance.
Restoring vintage radios is a journey of learning and discovery. Don’t be afraid to experiment, ask questions, and share your experiences. And remember, safety first!
If you enjoy the methodical and rewarding nature of restoring vintage radios, you might also find satisfaction in other hands-on hobbies. Consider exploring the art of small-scale soapmaking, the tranquility of bonsai cultivation, or the aromatic craft of home coffee roasting. Each offers a unique blend of skill, creativity, and tangible results.
Discussion about this post