
Build a Better Backyard Observatory: A Friendly Guide to Amateur Astronomy
Have you ever looked up at the night sky and felt a sense of wonder? A yearning to understand the vastness beyond our world? Amateur astronomy is a fantastic hobby that allows you to explore the universe from your own backyard! And while you don’t need expensive equipment to start, building a dedicated space – an observatory – can dramatically enhance your observing experience. This guide will walk you through everything you need to know, from planning to construction, to make your backyard observatory a reality.
Why Build an Observatory?
Before diving into the specifics, let’s discuss why building a dedicated observatory is beneficial. While it’s possible to observe from anywhere, an observatory offers several advantages:
- Permanent Setup: No more lugging equipment in and out, setting it up, and then taking it down. Everything is ready to go when the skies are clear.
- Temperature Acclimation: Telescopes need time to adjust to the ambient temperature. A permanent setup eliminates this issue, resulting in sharper images.
- Light Pollution Reduction: Even a small enclosure can help shield your telescope from stray light sources, improving contrast.
- Protection from the Elements: Your valuable equipment is protected from dew, rain, wind, and dust.
- Increased Observing Time: The convenience of a ready-to-go observatory encourages more frequent observing sessions.
Planning Your Observatory
Careful planning is crucial for a successful observatory project. Here’s a breakdown of key considerations:
1. Location, Location, Location
The location of your observatory is paramount. Consider these factors:
- Dark Skies: The further away you are from city lights, the better. Light pollution is the biggest enemy of amateur astronomers.
- Horizon Views: Ensure a clear view of the horizon in all directions, especially the south (for northern hemisphere observers) where many interesting objects reside. Trees, buildings, and other obstructions should be avoided.
- Stable Ground: A solid foundation is essential to minimize vibrations. Avoid areas with soft soil or frequent tremors.
- Accessibility: Easy access for you and your equipment is important.
- Power and Internet: Consider the availability of electricity for powering equipment and internet access for remote control and data acquisition.
2. Observatory Types
There are several observatory designs to choose from, each with its own pros and cons:
- Clamshell Observatories: These have a dome that splits in half, providing a large opening for viewing. They’re relatively simple to build but can be bulky.
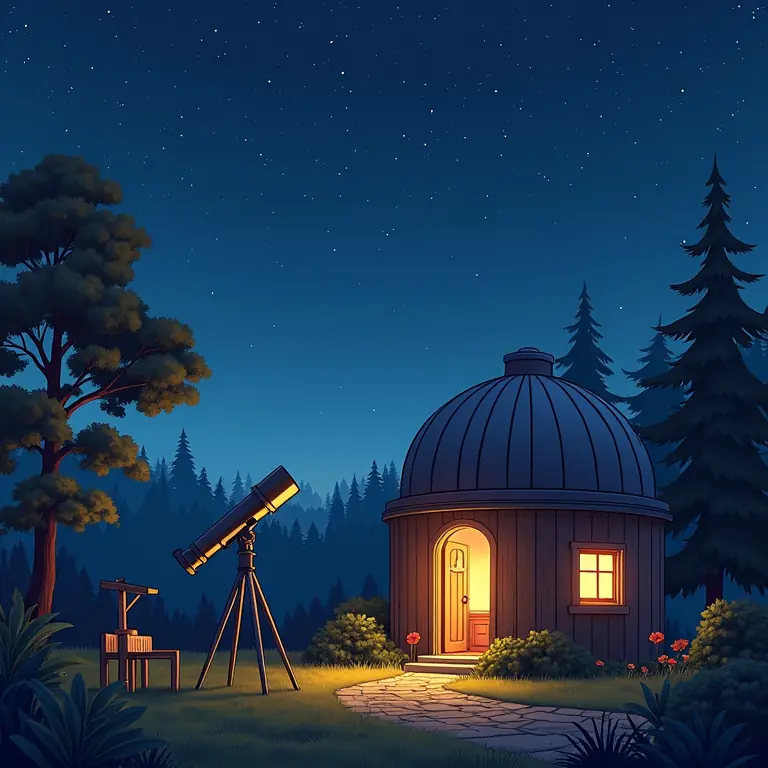
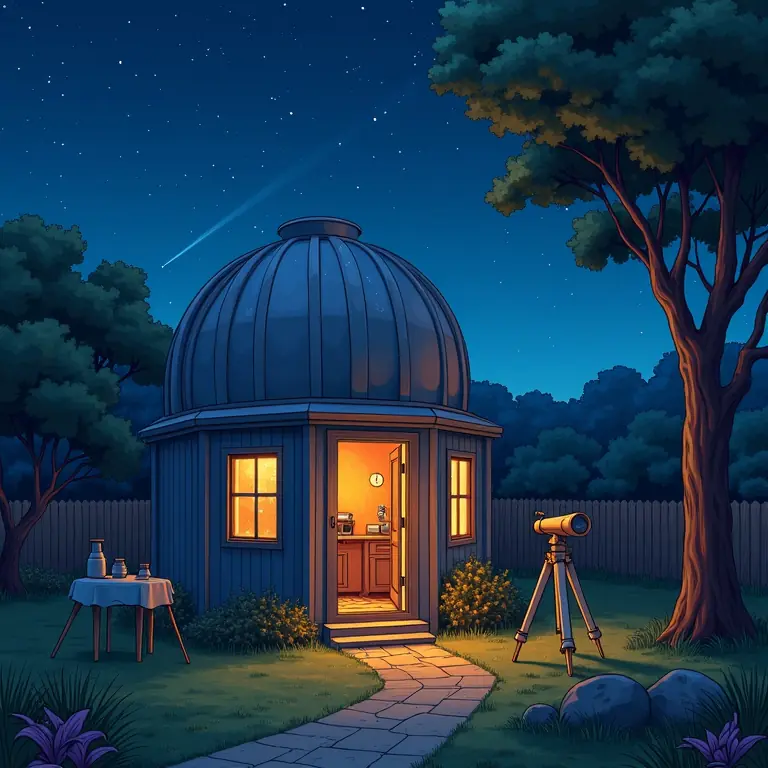
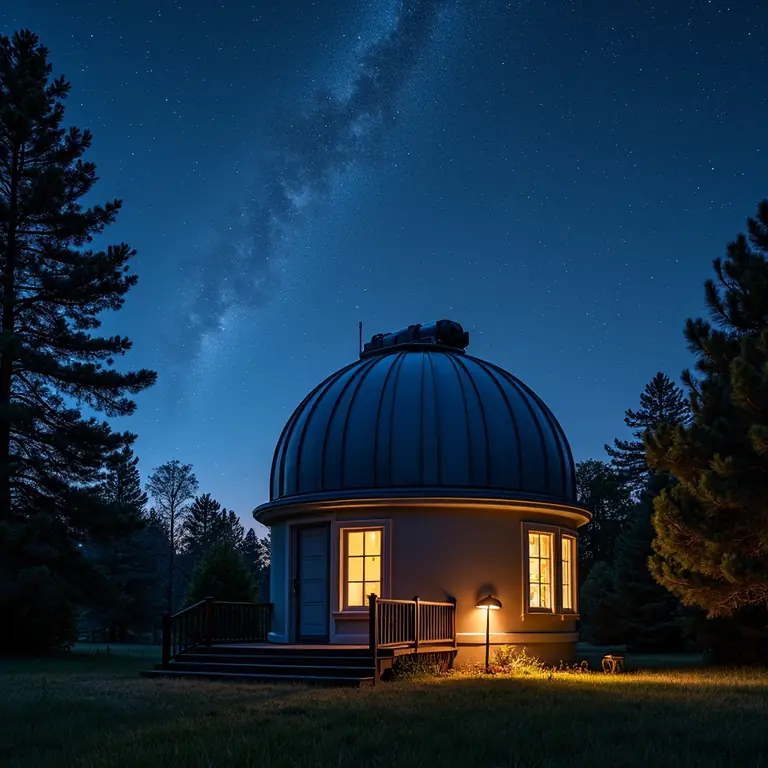
- Dome Observatories: The classic observatory design. A rotating dome allows you to access any part of the sky without moving the telescope. They’re more complex to build than clamshells.
- Roll-Off Roof Observatories (ROR): These have a roof that slides horizontally to reveal the sky. They’re relatively inexpensive and easy to build, but offer less protection from wind and stray light.
- Shed Observatories: A simple shed with a removable or sliding section of the roof. The most basic and affordable option.
3. Size and Scope
The size of your observatory should be dictated by the size of your telescope and any additional equipment you plan to use. Allow enough space to comfortably move around inside. Consider these dimensions as a starting point (these are approximate and depend on your specific equipment):
- Small Observatory (for small refractors/reflectors): 8ft x 8ft or 10ft x 10ft
- Medium Observatory (for 8-12 inch telescopes): 10ft x 12ft or 12ft x 12ft
- Large Observatory (for larger telescopes): 14ft x 16ft or larger
4. Budget
Observatory costs can vary widely depending on the size, complexity, and materials used. A basic ROR observatory can be built for under $1,000, while a fully equipped dome observatory can easily cost $5,000 or more. Factor in costs for:
- Materials (lumber, roofing, dome/shell materials)
- Foundation (concrete, gravel)
- Hardware (screws, nails, hinges)
- Electrical work (if needed)
- Dome/Shell Rotation Mechanism (for domes)
- Tools (if you don’t already have them)
Construction: A Step-by-Step Guide (Roll-Off Roof Observatory)
Let’s focus on building a roll-off roof observatory, as it’s the most accessible for beginners. This guide provides a general overview; always consult local building codes and regulations.
Step 1: Foundation
A solid foundation is essential. A concrete slab is ideal, but a gravel pad can also work for smaller observatories. Ensure the foundation is level and square.
Step 2: Framing the Walls
Construct the walls using pressure-treated lumber. Ensure the walls are plumb and square. Include openings for doors and windows.
Step 3: Building the Roof
The roof should be strong enough to support its own weight and withstand wind and snow loads. Use sturdy lumber and roofing materials. Build the roof slightly larger than the observatory walls to provide an overhang.
Step 4: Creating the Roll-Off Mechanism
This is the heart of the ROR observatory. There are several ways to do this:
- Track System: The most common method. Use metal tracks and rollers to allow the roof to slide horizontally.
- Wheels on Rails: Similar to the track system, but uses wheels instead of rollers.
- Skid System: A simpler but less smooth option. The roof slides on wooden skids.
Step 5: Adding Finishing Touches
Install doors, windows, and any necessary electrical wiring. Paint or stain the observatory to protect it from the elements. Consider adding insulation to regulate temperature.
Essential Equipment for Your Observatory
Beyond the observatory structure itself, you’ll need essential equipment to enjoy your astronomical pursuits:
- Telescope: The heart of your setup. Choose a telescope that suits your budget and observing interests.
- Mount: A stable mount is crucial for tracking celestial objects.
- Eyepieces: Different eyepieces provide different magnifications.
- Filters: Filters enhance contrast and reveal details in specific objects.
- Red Flashlight: Preserves your night vision.
- Star Charts/Planetarium Software: Helps you locate objects in the sky.
- Notebook and Pencil: For recording observations.
Advanced Features to Consider
Once you have a basic observatory up and running, you can add advanced features to enhance your observing experience:
- Remote Control System: Control your telescope and camera from inside the observatory, or even remotely from another location.
- CCD/CMOS Camera: For astrophotography.
- Autoguider: Improves tracking accuracy during long-exposure astrophotography.
- Weather Station: Monitor temperature, humidity, and wind speed.
- Dome Rotation System (for dome observatories): Automates dome rotation.
Resources and Further Learning
Here are some helpful resources for amateur astronomers:
- Sky & Telescope Magazine: https://skyandtelescope.org/
- Astronomy Magazine: https://astronomy.com/
- Cloudy Nights: https://www.cloudynights.com/ (a popular online forum)
- Local Astronomy Clubs: Connect with other amateur astronomers in your area.
Don’t Forget the Fun!
Building an observatory is a rewarding project that will provide years of enjoyment. Don’t be afraid to experiment and customize your observatory to suit your needs. And remember, the most important thing is to get out there and explore the wonders of the universe!
Want to try your hand at another DIY project? Check out this guide on building a better birdhouse, or perhaps explore creative scrapbooking layouts. And if you’re feeling adventurous, learn how to brew kombucha!
Discussion about this post