
Assemble Your First PC: A Friendly Guide to Building a Custom Desktop

So, you’re thinking about building your own PC? Excellent! It might seem daunting at first, a complex puzzle of wires and components. But trust me, it’s incredibly rewarding. Not only will you gain a deeper understanding of how computers work, but you’ll also end up with a machine perfectly tailored to your needs and, often, for less money than a pre-built equivalent. This guide will walk you through the entire process, step-by-step, in a friendly and easy-to-understand way. Let’s get started!
Why Build Your Own PC?
Before diving into the technical details, let’s quickly cover why building your own PC is a great idea:
- Customization: You choose every component, ensuring your PC perfectly matches your gaming, work, or creative needs.
- Cost Savings: Often, building your own PC is cheaper than buying a pre-built one with similar specifications. You can also spread the cost over time, upgrading components as you go.
- Performance: You can optimize your build for specific tasks, maximizing performance where it matters most.
- Knowledge & Control: You’ll learn a ton about computer hardware and have complete control over your system.
- Upgradeability: Upgrading individual components becomes much easier and more affordable in the future.
Part 1: Gathering Your Components
This is arguably the most important part. You need to select the right components that work well together. Here’s a breakdown of the essential parts:
1. Central Processing Unit (CPU)
The “brain” of your computer. Intel and AMD are the two major manufacturers. Consider your budget and intended use. For gaming, a powerful CPU is crucial. For general use, a more modest CPU will suffice. Pay attention to the socket type (e.g., LGA 1700 for Intel, AM5 for AMD) as it must match your motherboard.
2. Motherboard
The backbone of your system, connecting all the other components. It needs to be compatible with your CPU (socket type), RAM type (DDR4 or DDR5), and the size of your case (ATX, Micro-ATX, Mini-ITX). Consider features like the number of USB ports, M.2 slots, and PCIe slots.
3. Random Access Memory (RAM)
Temporary storage for data the CPU is actively using. More RAM means smoother multitasking. 16GB is a good starting point for most users, while 32GB or more is recommended for demanding tasks like gaming or video editing. Ensure it’s compatible with your motherboard (DDR4 or DDR5) and has a sufficient speed (MHz).
4. Graphics Card (GPU)
Handles the visual output of your computer. Essential for gaming, video editing, and other graphically intensive tasks. NVIDIA and AMD are the main players. The higher the GPU’s specifications, the better the performance. Consider the power supply requirements of the GPU.
5. Storage (SSD & HDD)
Where your operating system, applications, and files are stored. Solid State Drives (SSDs) are much faster than traditional Hard Disk Drives (HDDs). An SSD is essential for your operating system and frequently used applications. An HDD can be used for mass storage of files like photos, videos, and games.
6. Power Supply Unit (PSU)
Provides power to all the components. Choose a PSU with enough wattage to handle all your components, with some headroom for future upgrades. Look for 80+ Bronze, Silver, Gold, or Platinum certification for efficiency. A modular PSU allows you to connect only the cables you need, reducing clutter.
7. Case
Houses all the components. Choose a case that’s compatible with your motherboard size and provides good airflow. Consider features like cable management options and aesthetics.
8. CPU Cooler
Keeps your CPU from overheating. The CPU usually comes with a stock cooler, but an aftermarket cooler (air or liquid) can provide better cooling performance, especially if you plan to overclock your CPU.
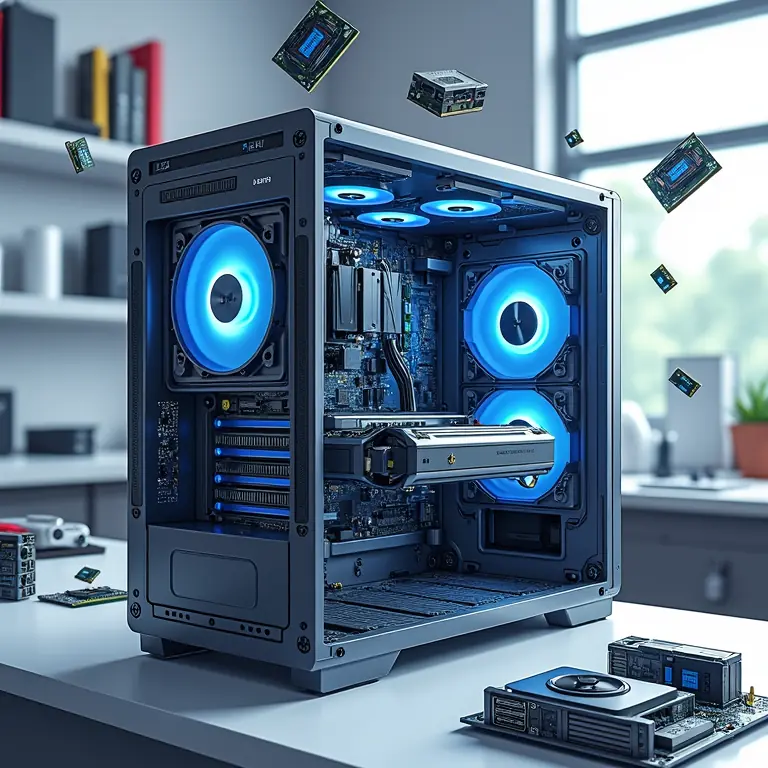
Part 2: Tools You’ll Need
You don’t need a ton of specialized tools, but here’s what’s recommended:
- Phillips Head Screwdriver: A magnetic one is incredibly helpful.
- Anti-Static Wrist Strap: Essential to prevent electrostatic discharge, which can damage components.
- Zip Ties or Velcro Straps: For cable management.
- Small Container: To keep screws organized.
- Flashlight: Helpful for seeing inside the case.
- Thermal Paste (Optional): If you’re using an aftermarket cooler, it might not have pre-applied thermal paste.
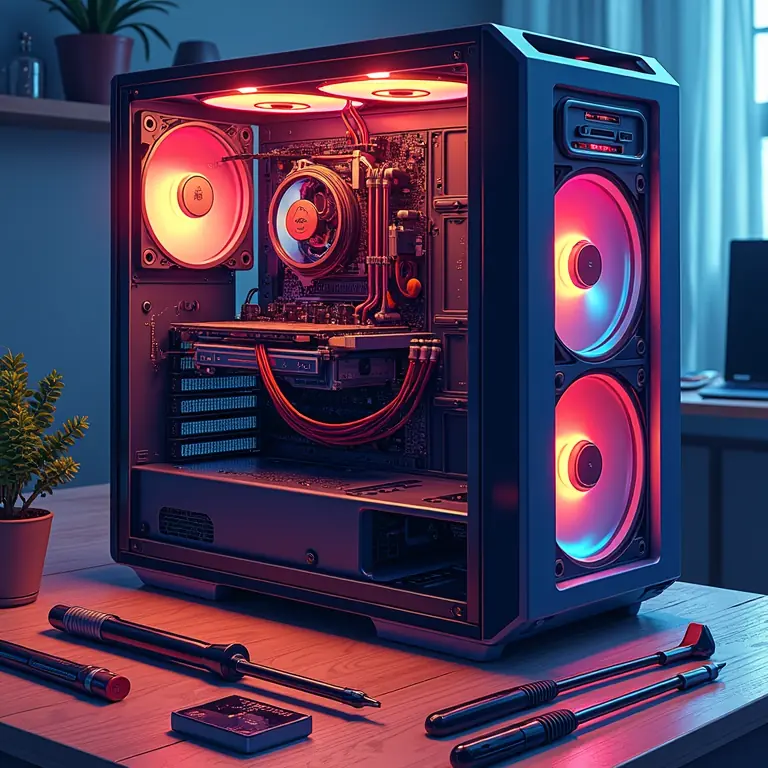
Part 3: The Assembly Process
Now for the fun part! Follow these steps carefully:
Step 1: Prepare Your Workspace
Find a clean, well-lit, and spacious workspace. Place your motherboard box on top of an anti-static bag or cardboard.
Step 2: Install the CPU
Carefully open the CPU socket lever on the motherboard. Align the CPU with the socket (there’s a small arrow or triangle on the CPU that must match the corner of the socket). Gently place the CPU into the socket – do NOT force it. Close the lever to secure the CPU.
Step 3: Install the CPU Cooler
If using an aftermarket cooler, follow the instructions that came with it. Apply thermal paste (if not pre-applied) to the top of the CPU. Secure the cooler to the motherboard, ensuring it’s firmly attached. Connect the cooler’s fan to the CPU fan header on the motherboard.
Step 4: Install the RAM
Open the clips on the RAM slots. Align the notch on the RAM stick with the notch in the slot. Press down firmly on both ends of the RAM stick until the clips click into place. Refer to your motherboard manual for the correct RAM slot configuration (usually slots 2 and 4 for dual-channel).
Step 5: Mount the Motherboard in the Case
Install standoffs in the case (if not pre-installed). Carefully lower the motherboard into the case, aligning it with the standoffs. Screw the motherboard into the standoffs.
Step 6: Install the Graphics Card
Open the rear case slots corresponding to the top PCIe x16 slot. Align the graphics card with the slot and press down firmly until it clicks into place. Secure the graphics card with screws.
Step 7: Install Storage Devices
Mount the SSD and/or HDD in the appropriate bays in the case. Connect SATA data cables from the storage devices to the motherboard. Connect SATA power cables from the PSU to the storage devices.
Step 8: Install the Power Supply
Place the PSU in its designated bay in the case. Secure it with screws. Connect the necessary power cables to the motherboard, graphics card, and storage devices.
Step 9: Cable Management
This is where zip ties or Velcro straps come in handy. Route cables neatly behind the motherboard tray and through cable management holes. A clean build not only looks better but also improves airflow.
Step 10: Initial Boot-Up
Connect the monitor, keyboard, and mouse. Plug in the power cord and turn on the PC. If everything is connected correctly, you should see the BIOS screen. If not, double-check all connections.
Part 4: Software Installation & Troubleshooting
Once you’ve confirmed the PC boots up, it’s time to install the operating system and drivers.
Operating System Installation
Boot from a USB drive or DVD containing the operating system installation files. Follow the on-screen instructions to install the OS.
Driver Installation
Install the latest drivers for your motherboard, graphics card, and other components. You can usually find these on the manufacturer’s website.
Troubleshooting
If you encounter problems, here are a few things to try:
- Double-check all connections: Make sure everything is securely plugged in.
- Consult your motherboard manual: It contains valuable information about troubleshooting.
- Search online forums: There’s a wealth of information and support available online.
- Test components individually: If possible, try swapping components to isolate the problem.
Here’s a helpful video to give you a visual guide:
Beyond the Basics
Now that you’ve built your first PC, there’s plenty more to explore:
- Overclocking: Pushing your components to run faster than their rated speeds.
- Water Cooling: A more advanced cooling solution that can provide even better performance.
- Custom Lighting: Adding RGB lighting to personalize your build.
Final Thoughts
Building a PC is a rewarding experience that empowers you to create a machine perfectly suited to your needs. Don’t be afraid to ask for help or do your research. And remember, patience is key! Happy building!
Want to learn another skill? Check out this guide to basic bicycle maintenance, or maybe try your hand at basic food styling. If you’re feeling creative, basic calligraphy could be your next adventure!
Discussion about this post