
Bake Brilliant Bread: A Friendly Guide to Sourdough Starters

Sourdough. The very word evokes images of crusty loaves, tangy flavors, and a baking tradition stretching back millennia. But for many, the idea of making sourdough bread feels… intimidating. It’s often perceived as a complex, finicky process reserved for expert bakers. Fear not! This guide is here to demystify sourdough, focusing on the heart of it all: the starter. We’ll walk through everything, from creating your starter to maintaining it, troubleshooting common issues, and understanding its vital role in creating truly exceptional bread. Get ready to embark on a rewarding baking journey!
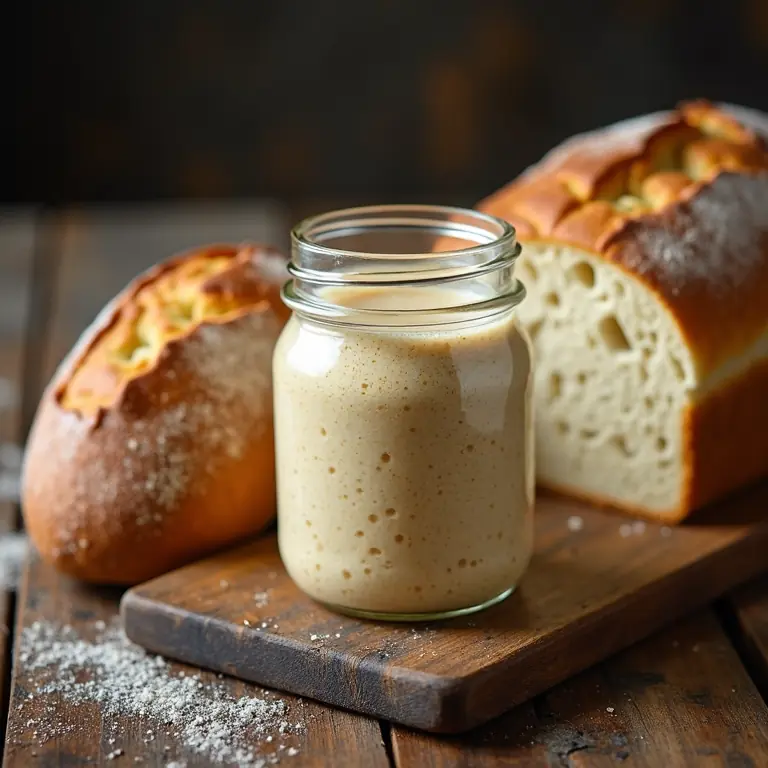
What *is* a Sourdough Starter?
At its core, a sourdough starter is a living culture of wild yeasts and lactic acid bacteria. Unlike commercial yeast, which is a single strain cultivated for consistent results, a sourdough starter is a diverse ecosystem. These microorganisms are naturally present in flour and in the air around us. They feed on the starches in the flour, producing carbon dioxide (which makes the bread rise) and organic acids (which contribute to the characteristic sourdough tang).
Think of it like a pet – it needs regular feeding (flour and water) to thrive. A happy, active starter is the key to a successful sourdough loaf. The beauty of a sourdough starter is that it’s self-sustaining; once established, you can maintain it indefinitely with consistent feeding, effectively creating a legacy starter you can pass down through generations.
Creating Your Starter: The First 7-14 Days
Okay, let’s get started! Here’s a step-by-step guide to building your own sourdough starter. Don’t worry if it doesn’t work perfectly the first time; patience is key.
Day 1: The Beginning
You’ll need:
- A clean, wide-mouth glass jar (quart size is ideal)
- Unbleached all-purpose flour (whole wheat flour can also be used, or a blend – more on that later)
- Non-chlorinated water (filtered is best. Chlorine can inhibit the growth of the wild yeasts)
Combine 50g of flour and 50g of water in the jar. Mix well until there are no dry clumps. The consistency should be like thick pancake batter. Cover loosely with a lid (not airtight – the gases need to escape) or a piece of cheesecloth secured with a rubber band. Let it sit at room temperature (ideally 70-75°F / 21-24°C) for 24 hours.
Days 2-7: Feeding and Observation
Each day, discard approximately half of the starter (about 50g). This prevents it from becoming overwhelmingly large. Then, add 50g of flour and 50g of water to the remaining starter. Mix well, and cover loosely. Observe the starter closely. You might start to see tiny bubbles forming – these are a sign of activity! You might also notice a slightly sour smell. Don’t be alarmed; this is normal.
Don’t be discouraged if nothing seems to happen for the first few days. Sometimes it takes a little longer for the wild yeasts to wake up. Consistency in feeding is more important than immediate results.
Days 8-14: Increased Activity & The Float Test
As you continue feeding, you should notice increased activity – more bubbles, a more pronounced sour smell, and the starter may even start to rise and fall after feeding. This indicates the yeast and bacteria are multiplying.
Around day 7-14, you can start performing the “float test” to check if your starter is ready to bake with. Take a small spoonful of starter and gently drop it into a glass of water. If it floats, it’s producing enough gas to leaven bread! If it sinks, continue feeding for another few days and test again. The float test isn’t foolproof, but it’s a good indicator of activity.
Flour Choices and Their Impact
The type of flour you use significantly impacts the starter’s development and flavor profile.
- All-Purpose Flour: A reliable choice for beginners. It provides a good balance of proteins and starches.
- Whole Wheat Flour: Contains more nutrients and bran, which can encourage faster growth of the starter. It also contributes to a more complex flavor.
- Rye Flour: A powerhouse for sourdough starters! Rye flour is rich in enzymes and nutrients that feed the yeasts and bacteria, resulting in a vigorous starter.
You can experiment with different flour combinations. Starting with all-purpose and gradually incorporating whole wheat or rye flour can be a good approach.
Maintaining Your Starter: The Routine
Once your starter is active and reliable, you need to maintain it. There are two main approaches: room temperature maintenance and refrigerated maintenance.
Room Temperature Maintenance (For Frequent Bakers)
If you bake frequently (several times a week), you can keep your starter at room temperature. This requires daily feeding. Discard about half, then add equal parts flour and water (by weight) to the remaining starter. For example, if you have 100g of starter, discard 50g and add 50g flour and 50g water.
Refrigerated Maintenance (For Less Frequent Bakers)
For those who bake less often, refrigeration is the way to go. This slows down the fermentation process significantly. Feed your starter as usual, then refrigerate it immediately. You’ll only need to feed it once a week or even less frequently. When you’re ready to bake, take the starter out of the refrigerator, feed it, and let it sit at room temperature for several hours (or overnight) to reactivate it. You may need to feed it 2-3 times to restore its full activity.
Troubleshooting Common Starter Issues
Even with careful attention, you might encounter some challenges. Here’s how to address them:
Starter Isn’t Bubbling
Possible Causes: Temperature too cold, insufficient feeding, chlorinated water, low-quality flour.
Solutions: Move the starter to a warmer location, ensure consistent feeding, use filtered water, try a different brand of flour.
Starter Smells Like Vinegar
Possible Cause: Excessive acidity. This can happen if the starter isn’t fed frequently enough.
Solution: Increase the frequency of feedings. Discard a larger portion of the starter before feeding.
Starter is Moldy
Possible Cause: Contamination. Mold is a sign that unwanted microorganisms have taken hold.
Solution: Unfortunately, a moldy starter needs to be discarded. Thoroughly clean the jar before starting a new one.
Starter is Separating (Hooch)
Possible Cause: The starter is hungry! A layer of liquid (hooch) forming on top indicates that the starter has depleted its food supply.
Solution: Simply pour off the hooch (or stir it back in for a more sour flavor) and feed the starter.
Using Your Starter: Beyond the Basics
Once you have a thriving starter, the possibilities are endless! You can use it to make a wide variety of breads, from classic boules and baguettes to more adventurous creations. But don’t stop there! Sourdough starter can also be used in pancakes, waffles, pizza dough, and even cakes – adding a unique tang and depth of flavor.
Resources & Further Exploration
Here are some links to help you continue your sourdough journey:
- For a completely different fermentation journey, explore the art of Gongfu Cha.
- Embrace natural processes in another realm: plant-based dyeing.
- Another form of preservation, safeguarding cherished memories.
The Joy of Sourdough
Creating and maintaining a sourdough starter takes time and dedication, but the rewards are well worth the effort. The process connects you to a long tradition of baking, encourages patience and observation, and ultimately, delivers bread that is truly exceptional. Don’t be afraid to experiment, learn from your mistakes, and enjoy the journey. Happy baking!
Discussion about this post