
Mastering the Magic of Macrame: A Beginner’s Knot Guide
Macrame, the art of knotting cords or strings in patterns to create decorative items, has experienced a huge resurgence in popularity. Once a staple of the 70s, it’s now back with a modern twist, offering a relaxing and rewarding craft for beginners and experienced artisans alike. This comprehensive guide will take you from zero to knot hero, equipping you with the knowledge and skills to create beautiful macrame pieces. We’ll cover everything from materials to essential knots, and provide tips for success. Ready to dive in?
What is Macrame?
At its heart, macrame is a form of textile-making relying solely on knotting. Unlike weaving or knitting which use tools, traditional macrame requires only your hands – though a mounting surface is highly recommended! Historically, the art originated with sailors who created intricate knots for decoration and practical purposes on ships. The word ‘macrame’ is derived from the Turkish word ‘makrama’, meaning ‘ornamental fringe’. Over time, it spread across cultures, becoming a popular pastime in Victorian England and then enjoying a revival during the bohemian era.
Gathering Your Supplies
Before you can begin knotting, you’ll need to gather your supplies. Here’s a breakdown of what you’ll need:
- Cord: This is the foundation of your project. Common choices include cotton cord (most popular for beginners due to its affordability and ease of use), jute, hemp, nylon, and linen. The thickness of the cord will affect the look of your finished piece. For beginners, a 3mm or 5mm cotton cord is a good starting point.
- Mounting Surface: A macrame board, a sturdy piece of cardboard, or even a coat hanger can serve as a mounting surface. This is where you’ll attach your cords to begin knotting.
- Scissors: Sharp scissors are essential for cleanly cutting your cords.
- Measuring Tape: Accurate measurements are important for consistent knotting and achieving the desired size for your project.
- Pins or T-pins: These are used to secure your cords to the mounting surface.
- Beads & Charms (Optional): These can be incorporated into your designs for added embellishment.
- S-Hooks (Optional): Useful for hanging your work while you knot.
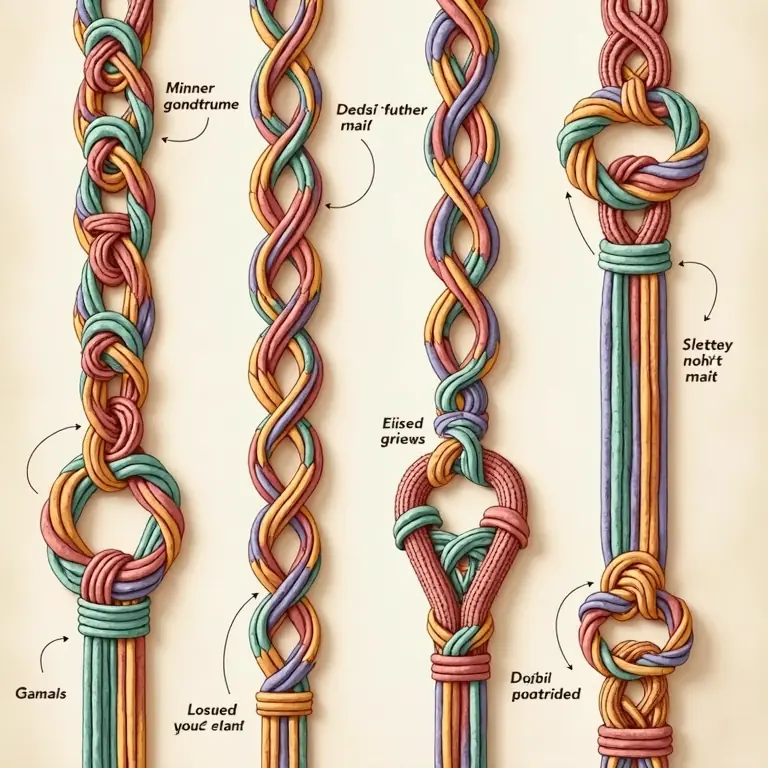
Essential Macrame Knots for Beginners
Macrame relies on a relatively small number of core knots, which are then combined to create complex patterns. Here are the essential knots you need to learn:
1. Larks Head Knot
The Larks Head Knot is the foundation for most macrame projects. It’s used to attach your cords to the mounting surface.
- Fold a cord in half, creating a loop.
- Place the loop over the mounting surface (board, dowel, ring, etc.).
- Pull the loose ends of the cord through the loop.
- Tighten the knot.
2. Square Knot
The Square Knot is arguably the most important knot in macrame. It forms the basis for many patterns and designs.
- Divide your cords into four strands.
- Bring the leftmost strand over the two middle strands and under the rightmost strand.
- Bring the rightmost strand under the two middle strands and over the leftmost strand.
- Tighten the knot. This completes half of a square knot.
- Repeat the process, reversing the sides (right over middle, under left; left under middle, over right) to complete a full Square Knot.
3. Half Hitch Knot (Forward & Backward)
The Half Hitch knot is used to create diagonal or horizontal lines in your macrame work. There are two variations: Forward and Backward.

Forward Half Hitch Knot
- Take a working cord (the cord you’re knotting with) and bring it over a filler cord (the cord you’re knotting around).
- Bring the working cord under the filler cord and back up through the loop you’ve created.
- Tighten the knot.
- Repeat to create a series of forward half hitches.
Backward Half Hitch Knot
- Take a working cord and bring it under a filler cord.
- Bring the working cord over the filler cord and back down through the loop you’ve created.
- Tighten the knot.
- Repeat to create a series of backward half hitches.
4. Double Half Hitch Knot
A variation on the half hitch knot, creating a more secure and defined pattern. This is essentially two half hitch knots, one after the other, using the same filler cord.
5. Overhand Knot
A simple knot used for decorative purposes or to prevent cords from unraveling. It’s also used in more complex knot combinations.
- Form a loop with your cord.
- Pass the end of the cord through the loop.
- Tighten the knot.
Putting it All Together: Your First Project – A Simple Plant Hanger
Let’s put your newfound knowledge into practice by creating a simple plant hanger. This project is perfect for beginners and will give you a solid foundation for tackling more complex designs.
Materials Needed:
- Approximately 80-100 feet of 3mm or 5mm cotton cord
- A metal or wooden ring (2-3 inches in diameter)
- Scissors
- Measuring tape
- A plant pot
Instructions:
- Cut eight cords, each 10 feet long.
- Fold each cord in half and attach it to the ring using the Larks Head Knot. You should now have 16 strands hanging from the ring.
- Divide the strands into four groups of four.
- With each group of four, tie a Square Knot about 2-3 inches below the ring.
- Measure down another 2-3 inches and tie another Square Knot with each group.
- Continue tying Square Knots at regular intervals, creating a net-like structure. The number of rows will depend on the size of your plant pot.
- Gather all 16 strands together and tie a large gathering knot (a Square Knot or Overhand Knot) to create the base of the hanger.
- Trim the ends of the cords to your desired length.
- Place your plant pot into the hanger and enjoy!
Tips for Success
- Practice Makes Perfect: Don’t get discouraged if your knots aren’t perfect at first. The more you practice, the more natural and consistent your knotting will become.
- Keep Your Cords Organized: Untangled cords are a happy knitter! Consider using cord keepers or bobbins to keep your cords organized and prevent them from becoming a tangled mess.
- Maintain Consistent Tension: Consistent tension is key to creating neat and even macrame pieces. Try to pull your knots with the same amount of force each time.
- Don’t Be Afraid to Experiment: Macrame is a versatile art form. Once you’ve mastered the basic knots, don’t be afraid to experiment with different patterns, colors, and materials.
- Use a Mounting Surface: A good mounting surface is crucial for keeping your work stable and organized.
- Watch Tutorials: Visual learning can be incredibly helpful. There are countless macrame tutorials available online.
Beyond the Basics: Expanding Your Skills
Once you’ve mastered the basic knots and created a few simple projects, you can start exploring more advanced techniques and designs. Here are a few ideas:
- Learn New Knots: There are many other macrame knots to discover, such as the Josephine Knot, the Cow Hitch, and the Barrel Knot.
- Explore Different Patterns: Experiment with different knot combinations to create intricate patterns and designs.
- Incorporate Beads and Charms: Add beads and charms to your macrame pieces for a touch of personalization.
- Create Larger Projects: Tackle larger projects, such as wall hangings, curtains, and even furniture.
- Color Blocking: Use different colored cords to create striking visual effects.
Resources for Further Learning
Here are some resources to help you continue your macrame journey:
- Online Tutorials: YouTube is a treasure trove of macrame tutorials.
- Macrame Books: Many excellent macrame books are available, offering detailed instructions and inspiring designs.
- Online Communities: Join online macrame communities to connect with other artisans, share your work, and get feedback.
Macrame is a wonderful craft that offers endless possibilities for creativity and self-expression. With a little practice and patience, you’ll be creating beautiful and unique macrame pieces in no time. And if you’re looking to boost your overall productivity while crafting, check out this guide to keyboard shortcuts. For a relaxing companion to your crafting, consider perfecting your French press coffee. And if you’re exploring new hobbies, you might also enjoy learning about drones!
Happy knotting!
Discussion about this post