
Preserve Your Memories: A Friendly Guide to Digitizing Old Photos

Old photos. They’re more than just images; they’re tangible links to our past, windows into the lives of loved ones, and keepers of cherished memories. But time isn’t kind to physical photographs. They fade, crack, get lost, or are damaged by accidents. This is where digitizing your photos comes in. It’s an act of preservation, ensuring these precious moments aren’t lost forever. This guide will walk you through everything you need to know, from choosing the right method to organizing your digital archive. Don’t worry if you’re not tech-savvy; we’ll keep it friendly and straightforward.
Why Digitize Your Photos?
Before diving into *how* to digitize, let’s reinforce *why* it’s so important. Beyond simply preventing loss due to physical decay, there are several compelling reasons:
- Longevity: Digital files, properly backed up, can last for generations, far exceeding the lifespan of prints.
- Sharing: Digital photos are easily shared with family and friends, no matter where they are in the world. Imagine being able to instantly share a childhood photo with a relative across the ocean!
- Restoration: Digital copies allow you to restore faded or damaged photos using software – something impossible with originals.
- Organization: Digital photos can be easily organized, tagged, and searched, making it much easier to find specific memories.
- Creative Projects: Digital photos open up possibilities for creating slideshows, photo books, or even restoring them with software like Photoshop.
Consider this: your grandparents’ photo albums are a treasure. Wouldn’t you want to ensure your family’s history is preserved for future generations? Digitization is a crucial step in achieving that.
Methods for Digitizing Your Photos
There are several ways to digitize your photos, each with its own pros and cons. Let’s explore them:
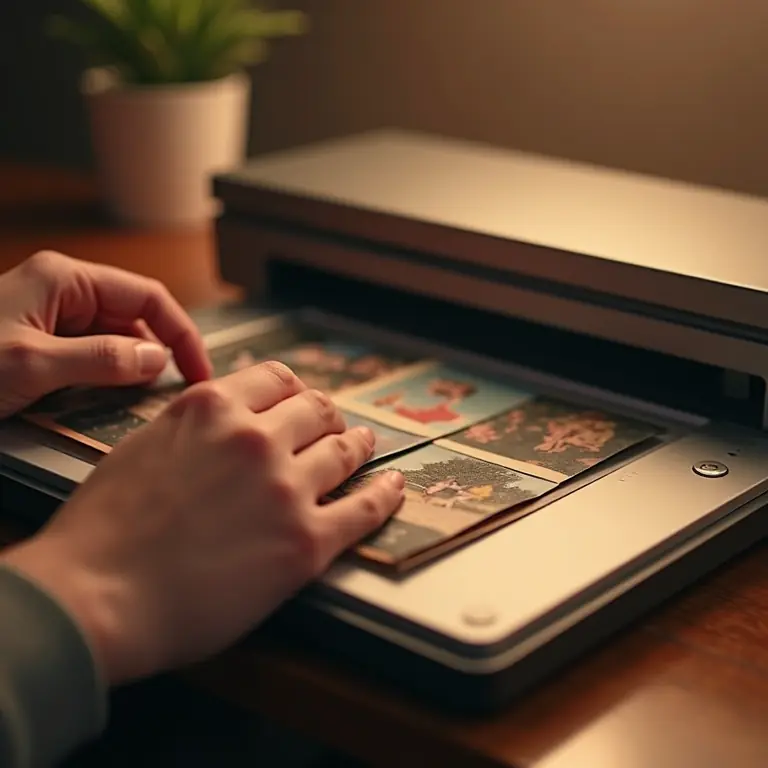
1. Using a Scanner
Scanning is generally considered the highest-quality method for digitizing photos. It gives you the most control over the process and results in the best possible image quality. However, it can also be the most time-consuming.
- Flatbed Scanners: These are the most common type of scanner. They’re relatively inexpensive and good for scanning individual photos.
- Photo Scanners: Designed specifically for photos, these scanners often have features like automatic feeding and dust/scratch removal. They can be faster than flatbed scanners, especially for large collections.
- Sheet-Fed Scanners: These scanners automatically feed photos through, making them ideal for large batches.
Tips for Scanning:
- Resolution: Scan at a minimum of 300 DPI (dots per inch) for standard prints. For larger prints or if you plan to print the digital copies, consider 600 DPI or even higher.
- Color Mode: Scan in color, even if the photo is black and white. This preserves the most information and allows for more editing options later.
- File Format: Save your scans as TIFF files for the highest quality. TIFF files are large, but they preserve all the image data. You can also save copies as JPG files for easier sharing, but be aware that JPGs are compressed and lose some quality.
- Cleanliness: Gently clean the photos with a soft, lint-free cloth before scanning to remove dust and fingerprints.
2. Using a Digital Camera
If you don’t have a scanner, or if you have a very large collection, you can use a digital camera to photograph your photos. This method is faster than scanning, but the quality may not be as high.
Tips for Photographing Photos:
- Lighting: Use even, diffused lighting. Avoid direct sunlight or harsh shadows. Two softbox lights are ideal.
- Camera Settings: Use a tripod to keep the camera steady. Set your camera to the highest resolution and lowest ISO setting. Use a macro mode if your camera has one.
- Angle: Photograph the photo straight on to avoid distortion.
- Focus: Ensure the photo is in sharp focus.
3. Using a Smartphone App
There are numerous smartphone apps designed for digitizing photos. These apps use your phone’s camera to scan or photograph the photos. They’re convenient and affordable, but the quality can vary greatly depending on the app and your phone’s camera.
Popular Smartphone Apps:
- PhotoScan by Google
- CamScanner
- Adobe Scan
These apps often include features like automatic cropping, perspective correction, and glare reduction.
4. Professional Digitizing Services
If you have a large collection of photos, or if you’re concerned about damaging your originals, you can consider using a professional digitizing service. These services will handle the entire process for you, ensuring high-quality results. This is the most expensive option, but it can be worth it for valuable or irreplaceable photos.
Setting Up Your Digitizing Workspace
Regardless of the method you choose, a well-organized workspace will make the process much easier. Here’s what you’ll need:
- A clean, flat surface: Plenty of space is essential.
- Good lighting: As mentioned earlier, even, diffused lighting is crucial.
- Soft, lint-free cloths: For cleaning photos.
- Archival-quality photo boxes or sleeves: For storing originals after scanning.
- Computer and external hard drive: For storing digital files.
- Software: Scanning software, photo editing software (like Photoshop or GIMP), and file management software.
Organizing Your Digital Photo Archive
Once you’ve digitized your photos, the real work begins: organizing them! A well-organized archive will save you countless hours of searching later on.
1. File Naming Convention
Develop a consistent file naming convention. A good example might be: YYYYMMDD_Event_Description_001.jpg (e.g., 19851225_Christmas_Family_001.jpg). The date at the beginning allows for easy sorting chronologically.
2. Folder Structure
Create a logical folder structure. You could organize by:
- Year: A simple and effective method.
- Event: (e.g., Weddings, Birthdays, Vacations)
- People: (e.g., Family Members)
You can also combine these methods. For example, you could have a folder for each year, and within each year, folders for specific events.
3. Metadata Tagging
Metadata is information embedded within the digital file that describes the photo. Tagging your photos with metadata (e.g., keywords, dates, locations, people) makes them easily searchable.
Most photo editing software allows you to add and edit metadata. Consider using keywords like “Grandma,” “Paris,” “Birthday,” etc.
4. Backups, Backups, Backups!
This is *crucial*. Digital files can be lost due to hard drive failures, viruses, or accidental deletion. Back up your photos to multiple locations:
- External Hard Drive: A physical backup.
- Cloud Storage: (e.g., Google Photos, Dropbox, iCloud) – provides offsite backup.
- NAS (Network Attached Storage): A more advanced option for home network backups.
The 3-2-1 rule is a good guideline: 3 copies of your data, on 2 different media, with 1 copy offsite.
Photo Restoration Basics
Once your photos are digitized, you can use software to restore faded or damaged images. Here are a few basic techniques:
- Adjusting Brightness and Contrast: Can often improve faded photos.
- Color Correction: Can restore faded colors.
- Spot Healing Brush: Used to remove small blemishes and scratches.
- Clone Stamp Tool: Used to copy pixels from one area of the image to another to repair larger damaged areas.
Software like Adobe Photoshop, GIMP (a free alternative), and even online photo editors offer these tools. Don’t be afraid to experiment!
Beyond Photos: Preserving Other Memories
Digitizing isn’t just about photos. Consider digitizing other important documents and media:
- Home Videos: Convert VHS tapes, 8mm films, and other analog video formats to digital.
- Audio Recordings: Digitize cassette tapes, vinyl records, and other audio recordings.
- Documents: Scan important documents like birth certificates, marriage licenses, and letters.
Thinking about preserving your memories extends beyond just photographs. It’s about safeguarding your family’s story.
Resources and Further Learning
Here are some helpful resources to continue your memory preservation journey:
- Digital Photo Restoration Tutorials: Search YouTube for tutorials on using Photoshop or GIMP for photo restoration.
- Online Forums and Communities: Connect with other photo enthusiasts and share tips and advice.
- Archival Supply Stores: Find archival-quality materials for storing your original photos.
And if you’re feeling inspired to explore other creative projects, you might enjoy creating natural dyes from plants, building your own computer, or even maintaining your bicycle. These are all ways to connect with history and create something lasting.
Digitizing your old photos is an investment in your family’s future. It’s a chance to reconnect with the past, share cherished memories, and ensure that those memories live on for generations to come. Take the first step today – you won’t regret it!
Discussion about this post