
Unfold Your Fortune: A Friendly Guide to Basic Origami
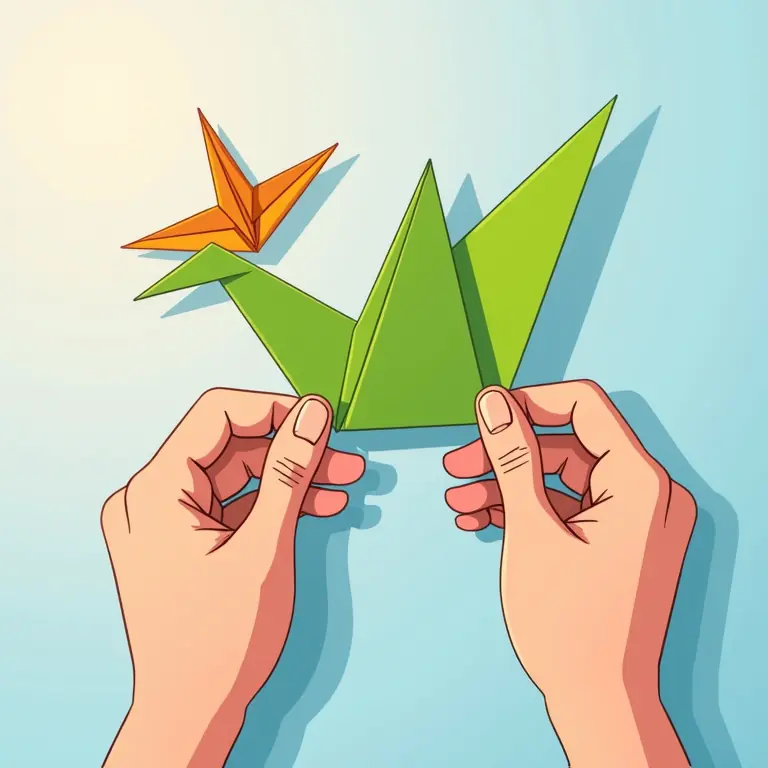
Origami, the ancient Japanese art of paper folding, isn’t just about creating beautiful shapes; it’s a mindful practice, a creative outlet, and a surprisingly accessible skill for all ages. Forget the intimidating images of complex dragons and intricate flowers – we’re starting with the basics. This guide will gently walk you through the essential folds, terminology, and a handful of simple projects to get you started on your origami journey. No special tools are required, just your hands and a little patience!
What You’ll Need
The beauty of origami lies in its simplicity. You don’t need a lot to get started:
- Paper: This is the most important ingredient! While you can use any paper, origami paper is specifically designed for folding. It’s thinner than regular printer paper, making it easier to create crisp folds. It also comes in a huge variety of colors and patterns. 6-inch square paper is a good size to begin with. Don’t be afraid to experiment with different types of paper once you get comfortable – even wrapping paper or tissue paper can be fun to work with.
- A Flat Surface: A table or desk will do nicely.
- Your Hands: The most important tool of all!
- Patience: Origami takes practice. Don’t get discouraged if your first attempts aren’t perfect.
Understanding Origami Terminology
Before we dive into specific folds, let’s get familiar with some common origami terms. Understanding these will make following instructions much easier.
- Valley Fold: This is a fold where the paper is folded towards you, creating a valley-like crease. Think of a ‘V’ shape.
- Mountain Fold: This is the opposite of a valley fold. The paper is folded away from you, creating a mountain-like crease. Think of an upside-down ‘V’ shape.
- Crease: A sharp, well-defined fold. Press firmly along the fold to make it crisp.
- Base: Many origami models start with a specific ‘base’ – a pre-folded structure that serves as the foundation for the rest of the model. We’ll cover a couple of common bases shortly.
- Point/Corner: Refers to the corners of the square paper.
- Edge: Refers to the sides of the square paper.
Essential Folds: The Building Blocks
Mastering these basic folds is key to unlocking the world of origami. Practice these until they become second nature.
The Valley Fold
1. Place your square paper color-side down (if your paper is colored on one side).
2. Bring two opposite corners together.
3. Align the edges precisely.
4. Crease firmly along the fold.
The Mountain Fold
1. Place your square paper color-side down.
2. Bring two opposite edges together.
3. Align the edges precisely.
4. Crease firmly, but this time, the crease will form a ‘mountain’ shape.
The Book Fold
1. Fold the paper in half, bringing the top edge to meet the bottom edge.
2. Crease firmly. This creates a rectangle.
The Diagonal Fold
1. Fold the paper diagonally, bringing one corner to meet the opposite corner.
2. Crease firmly.
3. Repeat with the other two corners.
Common Origami Bases
These bases are frequently used as starting points for more complex models. Learning them will significantly expand your origami repertoire.
The Waterbomb Base
1. Start with a square piece of paper, color-side down.
2. Make a valley fold diagonally in both directions. You should now have an ‘X’ crease.
3. Fold the paper in half horizontally and vertically, creating a ‘+’ crease.
4. Collapse the paper along the creases to form a smaller square. The open points should be at the bottom.
The Square Base
1. Start with a square piece of paper, color-side down.
2. Make a valley fold diagonally in both directions.
3. Fold the paper in half horizontally and vertically.
4. Collapse the paper to form a square, but this time the open points will be at the sides.
Let’s Make Some Origami! Simple Projects
Now for the fun part! We’ll start with a few easy projects to put your newfound skills to the test.
1. The Classic Paper Airplane
This is a great project for beginners and a nostalgic favorite. While many variations exist, here’s a simple version:
- Fold the paper in half lengthwise (book fold).
- Unfold.
- Fold the top two corners down to meet the center crease.
- Fold the top edges down to meet the center crease again.
- Fold the entire plane in half along the original center crease.
- Fold the wings down on each side, ensuring they are symmetrical.
2. The Simple Hat
A fun and functional origami creation!
- Fold the paper in half diagonally in both directions.
- Fold in half to form a triangle.
- Fold the top two points down to meet the bottom point.
- Unfold the last fold.
- Fold the top layer of the bottom point upwards, creating the brim of the hat.
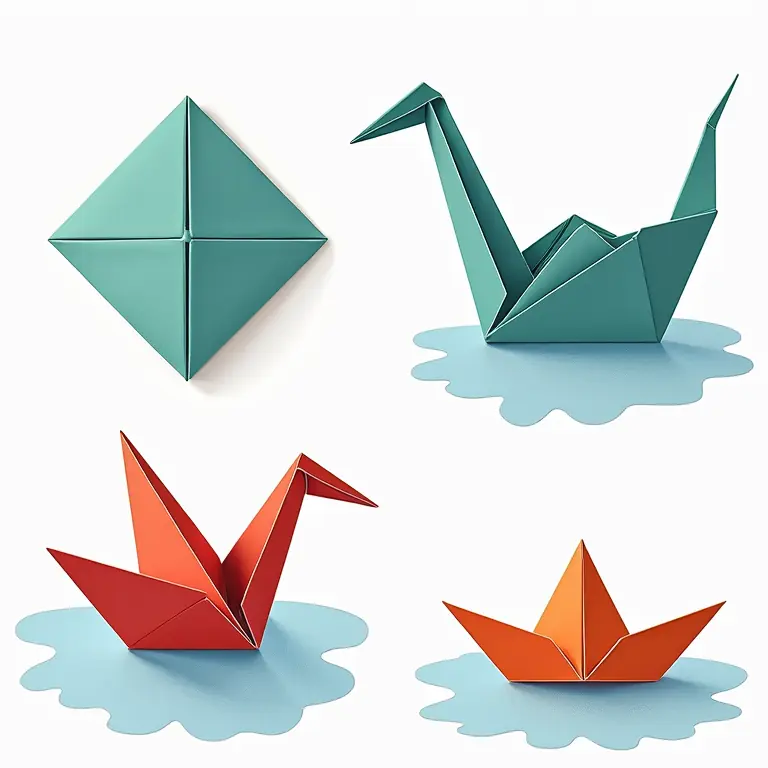
3. The Origami Butterfly
A slightly more challenging, but rewarding, project.
4. The Water Balloon
Starting with the waterbomb base, this is a classic origami piece.
- Start with a waterbomb base.
- Fold the top flaps of each side inwards to meet the center line.
- Repeat on the other side.
- Blow gently into the small hole at the bottom to inflate the balloon.
Beyond the Basics: Taking Your Origami to the Next Level
Once you’ve mastered these basic folds and projects, you’re ready to explore more complex origami. Here are some ideas:
- Learn more bases: The petal base, the frog base, and the bird base are all useful foundations for advanced models.
- Explore different models: There are countless origami diagrams available online and in books. Start with intermediate-level models and gradually work your way up to more challenging designs.
- Experiment with paper: Try different weights, colors, and textures of paper to see how they affect the final result.
- Join an origami community: Online forums and local origami clubs are great places to share your creations, learn new techniques, and get inspired.
Troubleshooting Common Problems
Origami isn’t always easy, and you’ll likely encounter some challenges along the way. Here are a few common problems and how to solve them:
- Creases aren’t crisp: Press firmly along the fold, using a bone folder or your fingernail.
- Paper is tearing: Use thinner paper or be more gentle when folding.
- Model doesn’t look right: Double-check your folds against the diagram and make sure you’re following the instructions accurately. Don’t be afraid to start over!
- Difficulty with a specific fold: Watch a video tutorial or ask for help from an experienced origami artist.
The Benefits of Origami
Origami offers more than just a beautiful finished product. It’s a practice that benefits both mind and body.
- Improves Fine Motor Skills: The precise folding requires dexterity and hand-eye coordination.
- Enhances Spatial Reasoning: Understanding how a flat piece of paper transforms into a 3D shape develops spatial awareness.
- Boosts Concentration: Origami requires focus and attention to detail.
- Reduces Stress: The repetitive nature of folding can be calming and meditative.
- Fosters Creativity: Origami encourages you to think outside the box and explore new possibilities.
Further Explorations
Interested in other creative hobbies? Here are a few friendly guides to get you started:
- Diagnose Delight: A Friendly Guide to Basic Plant Pest Identification – Combine your artistic eye with a green thumb!
- Restore Relish: A Friendly Guide to Antique Typewriter Restoration – A fascinating blend of mechanics and history.
- Sculpt Simple Stories: A Friendly Guide to Basic Stop-Motion Animation – Bring your creations to life!
So, grab a piece of paper, embrace the process, and unfold your fortune with the art of origami. Happy folding!
Discussion about this post