
Wire Wonders: A Friendly Guide to Basic Jewelry Making
So, you’re intrigued by the sparkle, the shape, the sheer creativity of jewelry making? Wonderful! It’s a fantastic hobby, surprisingly accessible, and incredibly rewarding. This guide will walk you through the basics of working with wire, providing a friendly, step-by-step introduction to creating your own beautiful pieces. Don’t worry if you’ve never picked up a pair of pliers before – we’ll start right at the beginning. Think of this as your welcoming workshop!
Why Wire Jewelry?
Before diving into techniques, let’s talk about why wire jewelry is such a great starting point. Firstly, it’s relatively inexpensive. You don’t need a huge investment in equipment to get started. Secondly, it’s portable. You can work on projects almost anywhere. Thirdly, and perhaps most importantly, it’s incredibly versatile. You can create anything from simple earrings to elaborate pendants, bracelets, and even rings. Wire allows for a lot of creative freedom and experimentation.
Gathering Your Tools – The Starter Kit
Okay, let’s get practical. Here’s what you’ll need to begin. Don’t feel like you need to buy the most expensive tools right away. Focus on getting good quality *basic* tools. You can always upgrade as you develop your skills.
- Wire: This is obvious! We’ll discuss different types of wire shortly.
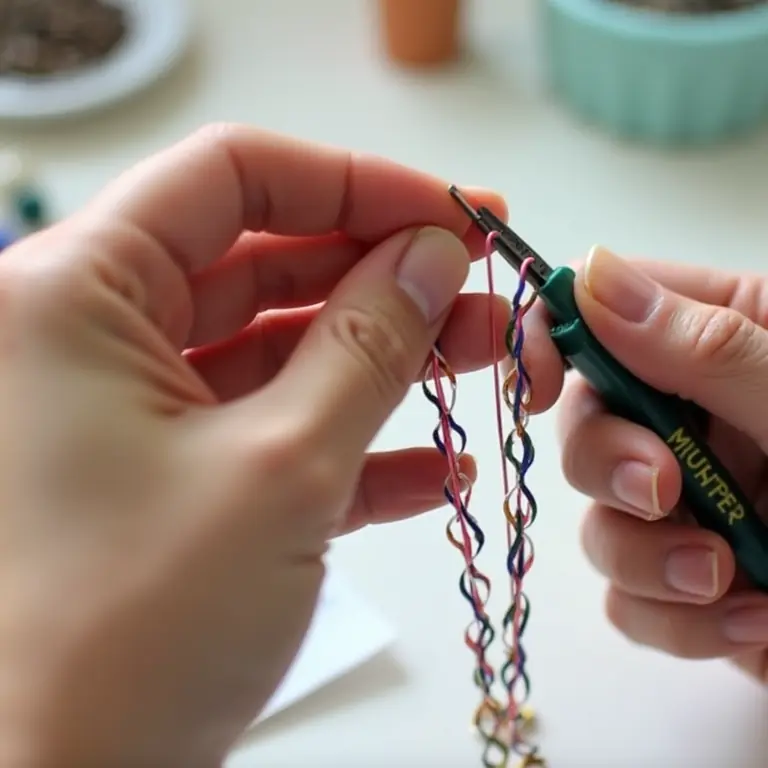
- Wire Cutters: These are specifically designed for cutting wire. Regular scissors won’t do. Look for flush cutters for a clean, flat cut.
- Round Nose Pliers: These are essential for creating loops and curves in your wire.
- Chain Nose Pliers: These are used for gripping, bending, and closing jump rings, as well as manipulating small components.
- Flat Nose Pliers: Useful for straightening wire, creating sharp bends, and holding components securely.
- Ruler or Measuring Tape: Precision is important, even in creative endeavors!
- Jewelry File: For smoothing sharp edges after cutting.
- Optional: A mandrel (a smooth, cylindrical tool) can be helpful for creating consistent loops and curves.
Here’s a helpful video showing a starter kit:
Understanding Your Wire
Wire isn’t just…wire. There are different metals, gauges, and hardnesses. Here’s a breakdown:
- Metals:
- Copper: A great choice for beginners. It’s inexpensive, easy to work with, and develops a lovely patina over time.
- Brass: Similar to copper in workability, with a golden color.
- Silver: A classic choice for jewelry. Sterling silver (92.5% silver) is the most common, but requires more care to prevent tarnishing.
- Gold-Filled: A more affordable alternative to solid gold. It has a layer of gold bonded to a base metal.
- Stainless Steel: Durable and hypoallergenic, but can be slightly harder to work with.
- Gauge: This refers to the thickness of the wire. The higher the gauge number, the thinner the wire. For beginners, 20-24 gauge is a good range to start with. 20 gauge is thicker and holds its shape well, while 24 gauge is more flexible.
- Hardness: Wire comes in different tempers: soft, half-hard, and hard. Soft wire is very pliable, while hard wire holds its shape best. Half-hard is a good compromise.
Basic Techniques – Let’s Get Making!
1. Making a Simple Loop
This is *the* fundamental technique in wire jewelry. It’s used for creating connections, attaching beads, and forming the basis of many designs. Here’s how:
- Cut a length of wire (about 6 inches is a good starting point).
- Using round nose pliers, grasp the end of the wire about ½ inch from the tip.
- Rotate the pliers so that the wire wraps around the pliers, forming a loop. The size of the loop will depend on how much of the wire you wrap around the pliers.
- Once the loop is formed, adjust the wire so that the end wraps neatly around itself.
- Use chain nose pliers to gently squeeze the wrapped wire closed, securing the loop.
2. Creating a Wrapped Loop
A wrapped loop is a more secure and decorative version of the simple loop. It’s perfect for attaching beads or charms.
- Follow steps 1-3 from the Simple Loop instructions.
- Instead of just closing the wire, use your chain nose pliers to wrap the wire around the base of the loop 2-3 times. This creates a neat and secure finish.
- Trim any excess wire with your wire cutters and tuck the end in so it doesn’t poke anyone.
3. Opening and Closing Jump Rings
Jump rings are small, circular connectors used to join different parts of your jewelry. Never *pull* a jump ring open – this will distort its shape. Instead:
- Using two chain nose pliers, grip the jump ring on opposite sides.
- Gently twist the pliers sideways to open the ring.
- To close the ring, twist the pliers in the opposite direction until the ends meet perfectly.
4. Creating Wire Hooks & Clasps
These are essential for making earrings and necklaces. A simple wire hook can be made using round nose pliers to create a curved shape, then using chain nose pliers to create a small loop at the end. For a clasp, you’ll generally create two loops, one on each end of a short piece of wire, and then attach a clasp finding to one of the loops.
Simple Projects to Get You Started
1. Simple Beaded Earrings
This is a great beginner project. You’ll need:
- Ear wires
- Beads of your choice
- Wire (24-26 gauge)
- Round nose pliers
- Chain nose pliers
- Wire cutters
Instructions:
- Cut a length of wire (about 4 inches).
- Create a wrapped loop at one end of the wire.
- Thread a bead onto the wire.
- Create another wrapped loop at the other end of the wire, attaching the ear wire.
2. Wire-Wrapped Pendant
This project allows you to showcase a beautiful stone or bead.
You’ll need:
- A stone or bead with a hole
- Wire (20-22 gauge)
- Round nose pliers
- Chain nose pliers
- Wire cutters
Instructions:
- Cut a length of wire (about 12 inches).
- Thread the wire through the hole in the stone or bead.
- Wrap the wire around the stone, creating a decorative cage. Use your pliers to shape and secure the wire.
- Create a loop at the top of the pendant for attaching a chain.
Beyond the Basics – Exploring Your Creativity
Once you’ve mastered these basic techniques, the possibilities are endless! Here are a few ideas to inspire you:
- Wire Weaving: Interweave multiple strands of wire to create intricate patterns.
- Wire Sculpting: Create three-dimensional shapes and figures using wire.
- Combining Wire with Other Materials: Experiment with beads, gemstones, leather, and fabric.
- Learning Advanced Techniques: Explore soldering, patina application, and stone setting.
Don’t be afraid to experiment and develop your own unique style. The best way to learn is by doing! And remember, mistakes are part of the process. Embrace them as opportunities to learn and grow.
Resources for Further Learning
There are tons of great resources available online and in libraries. Here are a few to get you started:
- YouTube: Search for “wire jewelry tutorials” – you’ll find a wealth of free videos.
- Online Forums: Connect with other wire jewelry makers and share ideas.
- Books: Look for books on wire jewelry making at your local library or bookstore.
Speaking of exploring new hobbies, if you’re looking for something completely different, you might enjoy planning the perfect playlist. Or perhaps you’d like to try your hand at building a birdhouse? If you’re more interested in understanding the world around you, check out this guide to understanding dog body language.
Final Thoughts
Wire jewelry making is a deeply satisfying hobby. It’s a chance to express your creativity, learn new skills, and create beautiful, unique pieces that you can wear with pride or give as gifts. So, gather your tools, choose your wire, and let your imagination run wild! Happy crafting!
Discussion about this post